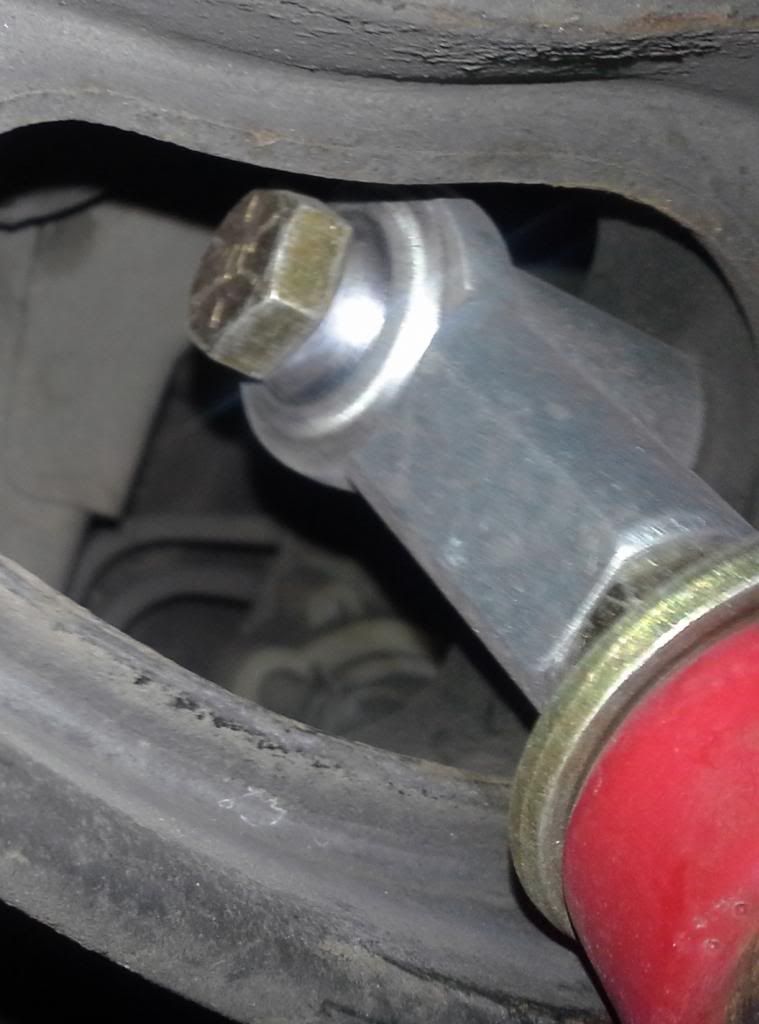
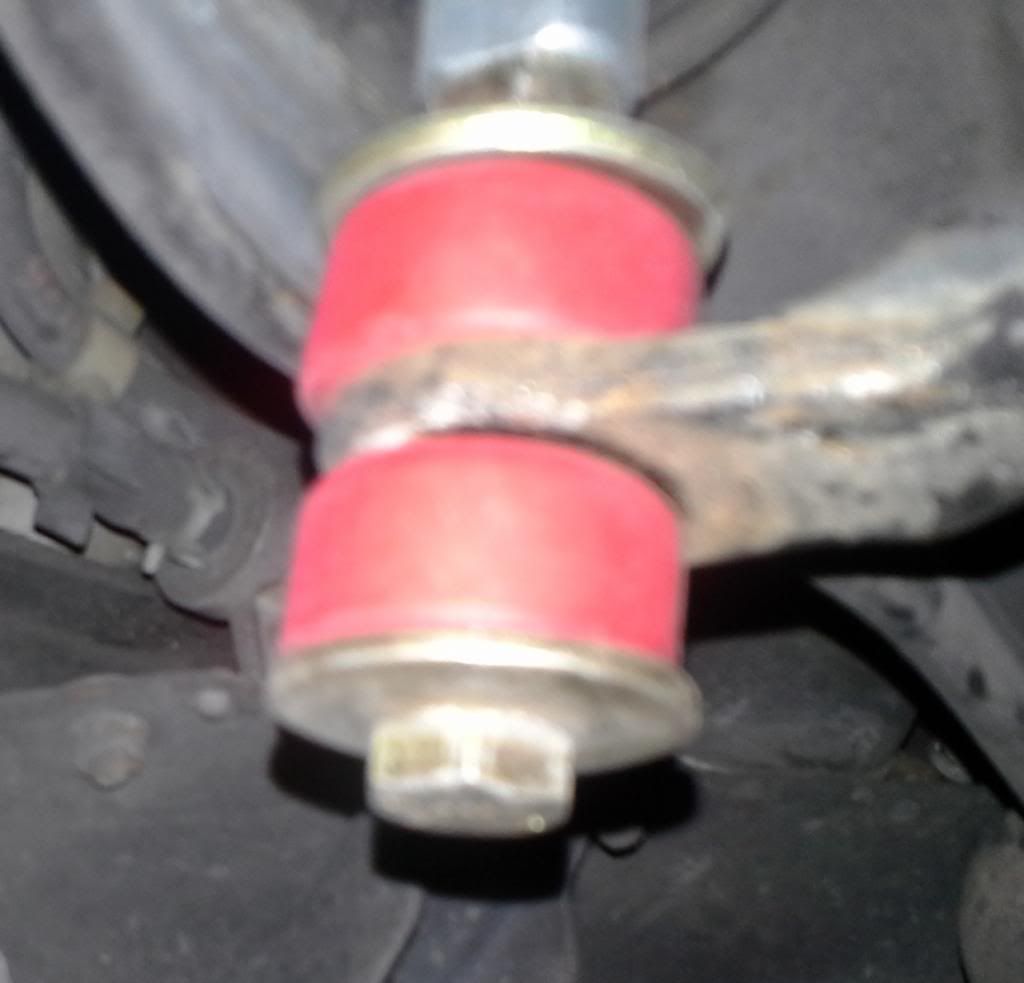
1. Purchase an Energy Suspension 4.3152 bushing kit for approximately $25 USD, plus shipping. Many suppliers carry this kit. It contains 2 urethane front bushings with steel inserts, 2 rear bushings with inserts, 2 large, heavy duty washers, and a small tub of ES urethane grease. The instructions DO NOT include the following details!
2. Purchase or acquire a set of any year Escort ZX-2 LCA rear bushing carriers. I tried/measured 4 different sets, including both early and late MX-3, and only the ZX-2 carriers were the correct internal diameter for the urethane bushings. Double check for an ID of the OEM bushing shell at a little less than 36mm.
3. Remove the LCAs from the car. Remove the swaybar links, ball joints, front pivot bolt, rear pivot shaft nut, and the rear bushing carrier. Mark the carriers right/left if they aren't already marked, and mark them so that you cannot mistake the FRONT of the carriers. Match up the ZX-2 carriers and mark them too. Use a punch or some other system not affected by heat.
4. Remove the front LCA rubber bushing. Put the LCA in a large vise of other holder. Trim the rubber flange from the front of the front bushing. a saw or razor knife works fine. Use a propane torch to heat the front bushing housing. Try not to burn the rubber, as it turns into a sticky black mess that won't harden. Get the steel ring around the existing bushing very hot. This releases the bond between the rubber and the steel. The rubber will be smoking when the steel is hot enough. Use a large socket (I used 27mm) turned inside out, with an extension and a hammer to drive the old bushing out. This should only take 2 or three blows; you shouldn't have to BEAT it out. If it won't move, the steel isn't hot enough. When this is right, the bushing just pops out. Repeat for the second LCA.
5. While the LCAs are cooling, use the same process to remove the old bushings from the rear bushing carriers.
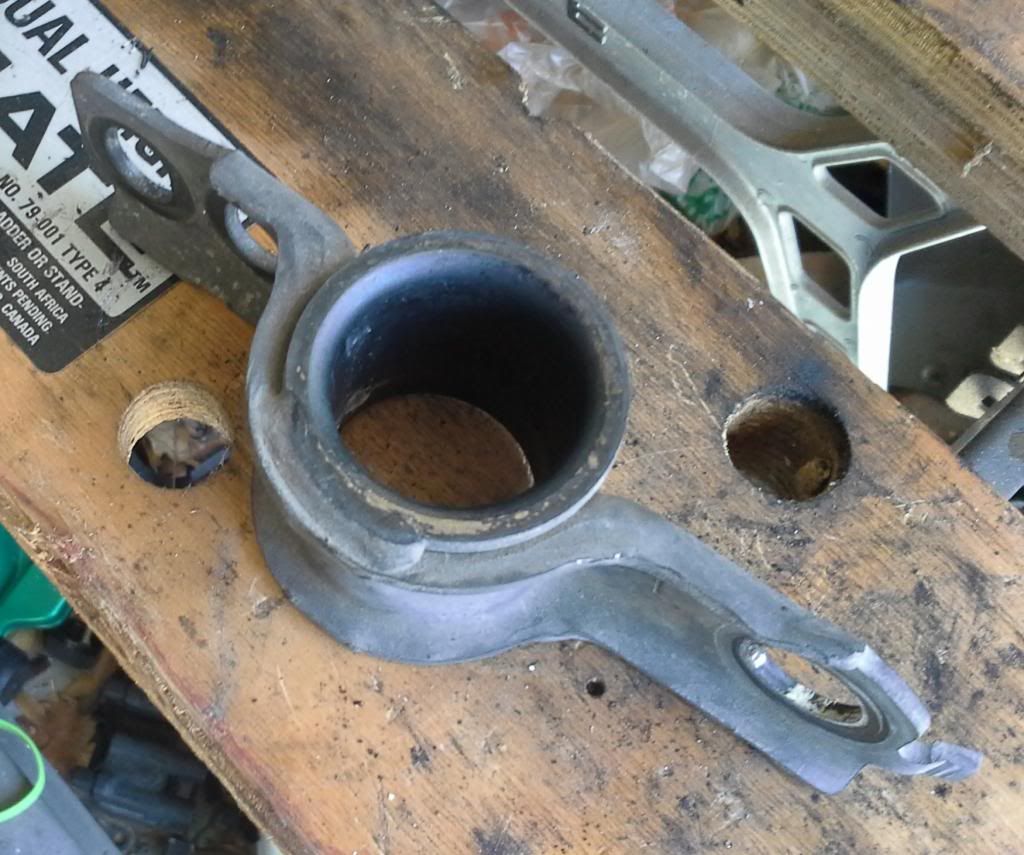
6. Prepare the bores where the old bushings were by sanding with medium emery cloth. The residue comes right out and leaves a clean bore for the new bushings.
7. Install the front bushings. Put some soapy water on the outside of the front bushing and press it into the front of the LCA, using heavy hand pressure. Mine installed this way, but you might need to use a vise or a big C-clamp to press this
bushing into place. The large washers that came with the kit make handy surfaces for pressing the bushings.
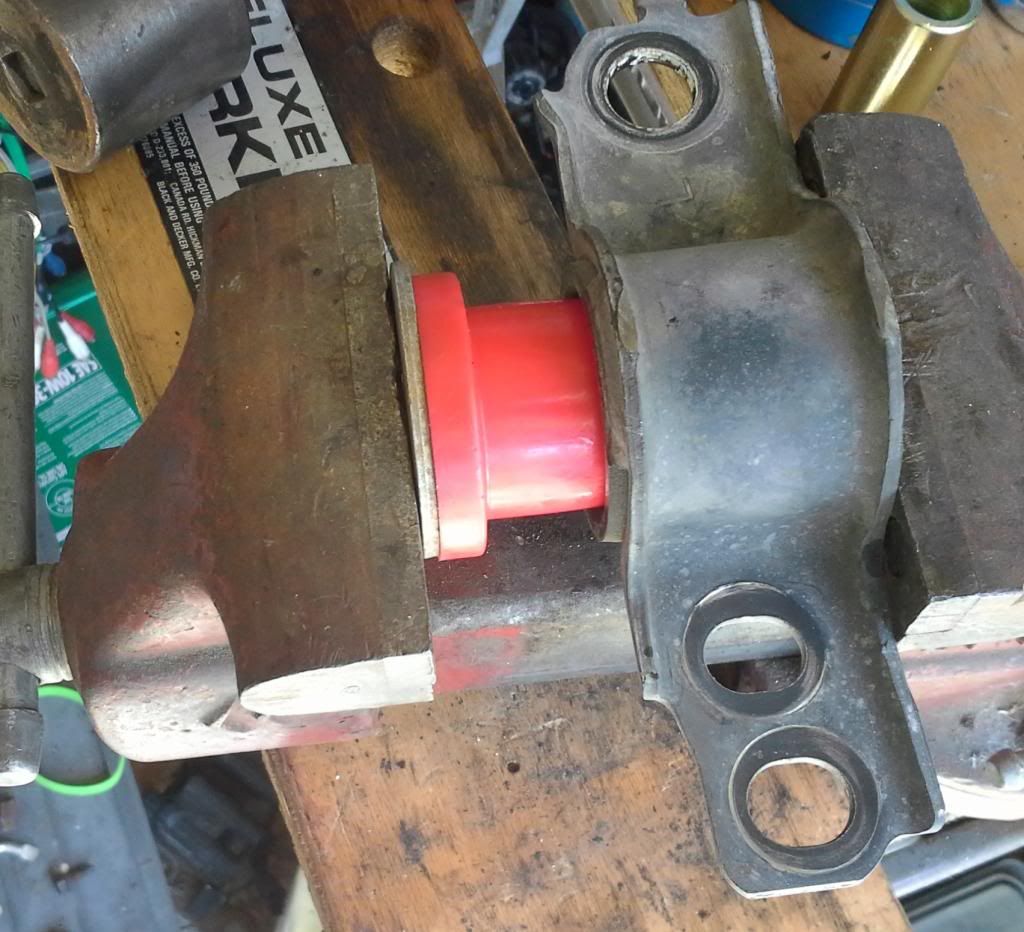
8. Install the rear bushings. MAKE SURE YOU IDENTIFY THE FRONT OF THE CARRIERS. It is really hard to remove these bushings if you put them in backwards! Using soapy water, press the bushing into the FRONT of the carrier. Mine needed to be pressed in after they got started by about 1/2 inch. Yours may go in easier, but if not, DO NOT HAMMER THEM IN! Use a vise or C-clamp, and again, the washers make handy surfaces to press against. Press them in until the urethane flange presses on the flange of the carrier.
9. Install the inner bushings. Use the ES grease to thoroughly grease the inside of the urethane bushings. There are grooves there to help hold the grease. The front bushings were able to be installed by hand on my set. Yours may need to be pressed in. DO NOT BANG THESE UP BY TRYING TO HAMMER THEM IN! I was able to push the rear bushings in about 1/2 inch on my setup; they needed to be pressed in the rest of the way. Both front and rear bushings should end up flush with the surface of the urethane flange.
10. Install the LCAs. Fit the front bushing into its housing and install the front pivot bolt finger-tight. Slide a large ES washer over the pivot shaft, and install the rear carrier onto the shaft. Install one of the stock washers behing the bushing and install the nut and lockwasher hand-tight. Flex the assembly so that the outer mounting bolt on the side with two holes lines up with the bolt hole. Insert a bolt and screw it in part way. Use a drift or large screwdriver to lever the other end of the carrier FORWARD until the alignment tab locks into its slot on the mounting point. tighten the carrier bracket bolts, install the ball joint and swaybar link and tighten.
11. Set the car on its wheels; tighten the front and rear pivot bolts to 69-93 lb.
12. Don't forget to have the front end aligned; the settings WILL have changed.
I have included some pictures below that show some of the steps in the process, as well as installed, finished bushings. Enjoy your bushings. I love mine!
Below, rear bushing awaiting one more little push to be out of the housing. Note the 2 holes; put a bolt thru the outer hole first, then lever the other end into position during installation. Also note that the flanges are usually marked "L" or "R"; this one is marked "L". Make sure to dentify the FRONT of the housing and mark it. Here, we are looking down at the rear of the housing; the FRONT has the cutout around the single bolt hole.
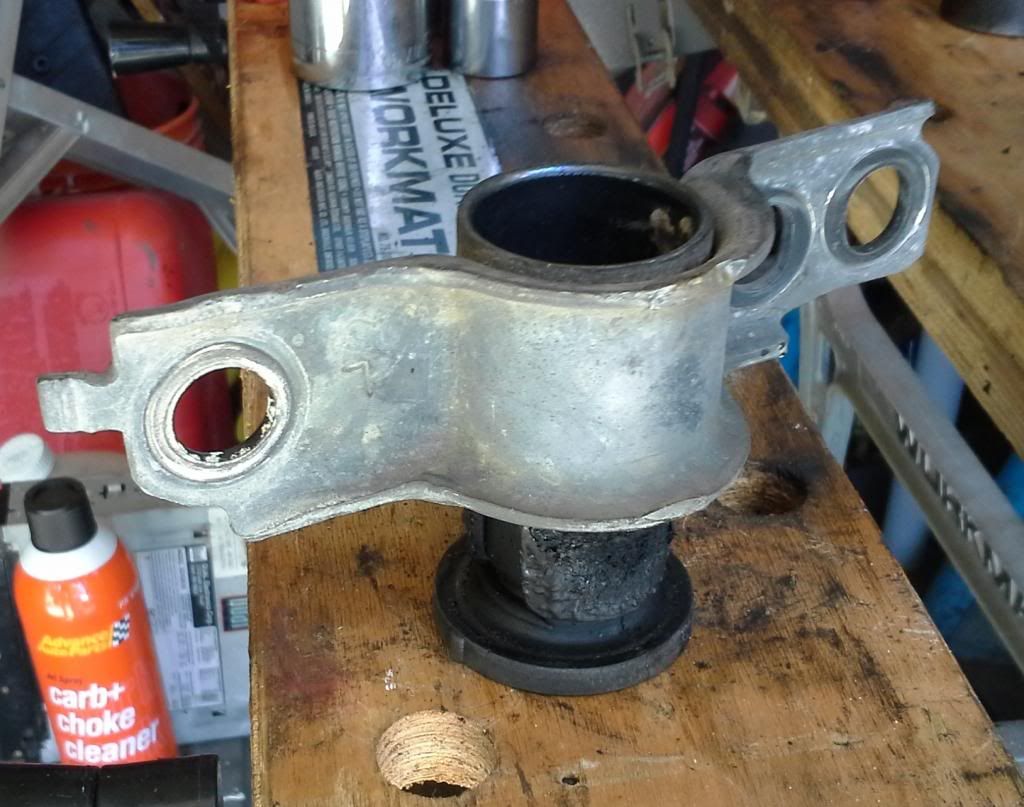
Below, rear housing bore after cleaning.
Below, rear bushing as it is pressed into place into the FRONT of the housing. Note use of the large washer. Also note the end with 2 bolt holes; put a bolt thru the outer hole first, then lever the other end into position during installation.
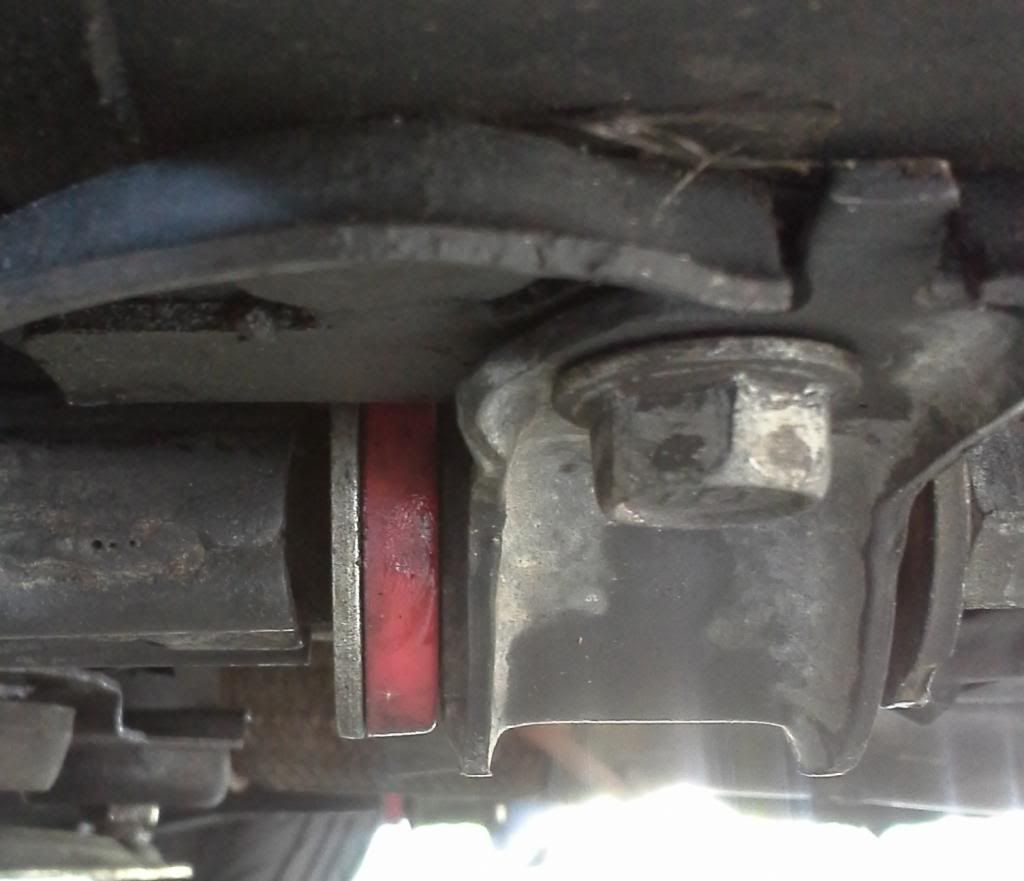
Installed Left LCA front bushing. Flanges face the FRONT of the car!
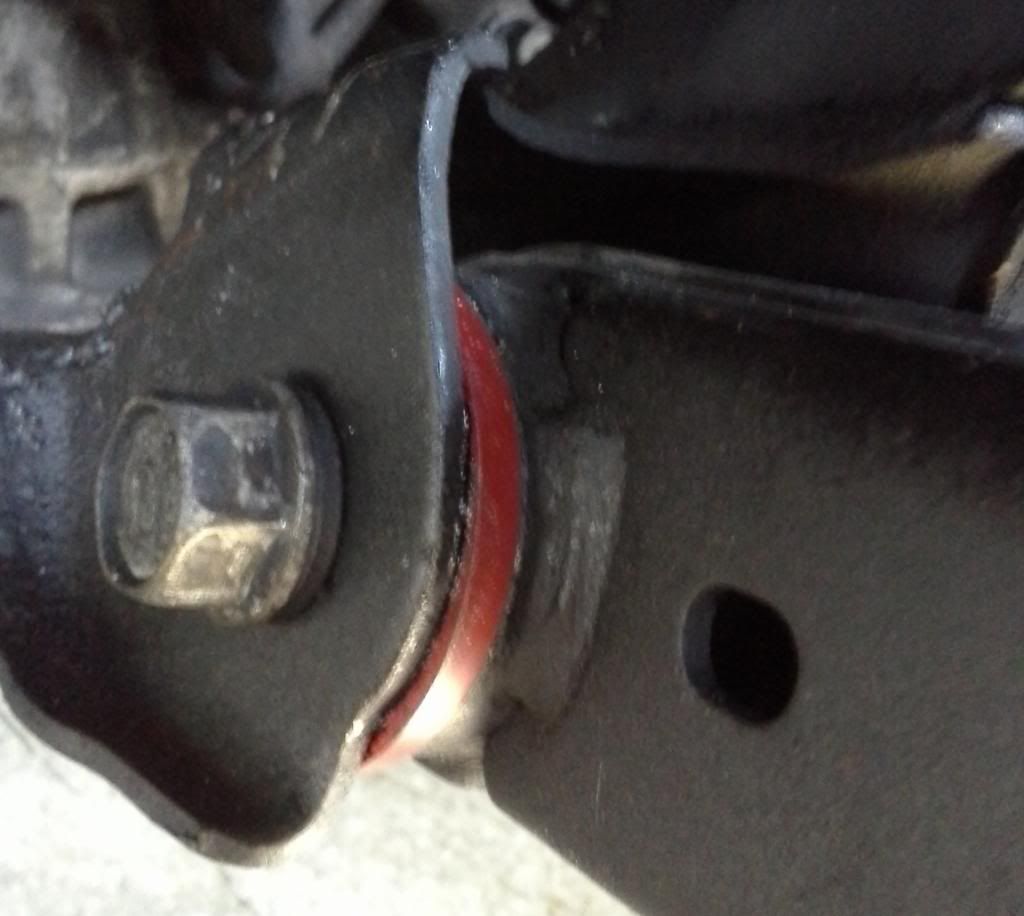
Left LCA rear bushing in place, with washers. Note the locating tab at the top and the cutout around the bolt hole. Once the other end of the housing is bolted in, it will take some levering to get that tab in place using a drift or screwdriver. Once in, everthing bolts right up!
