So i've decided to make a simple how-to for you guys out there who want to swap a digital cluster in.
Test subject: Mercury villager digital cluster 1993(not really 2012 right? lol)
I'll take the parts I need from a 1992 V6 cluster
First off, remember that when you buy the cluster, be sure to take the 3 connectors that go on it or else you're going to have a hard time finding some as they are very rare.
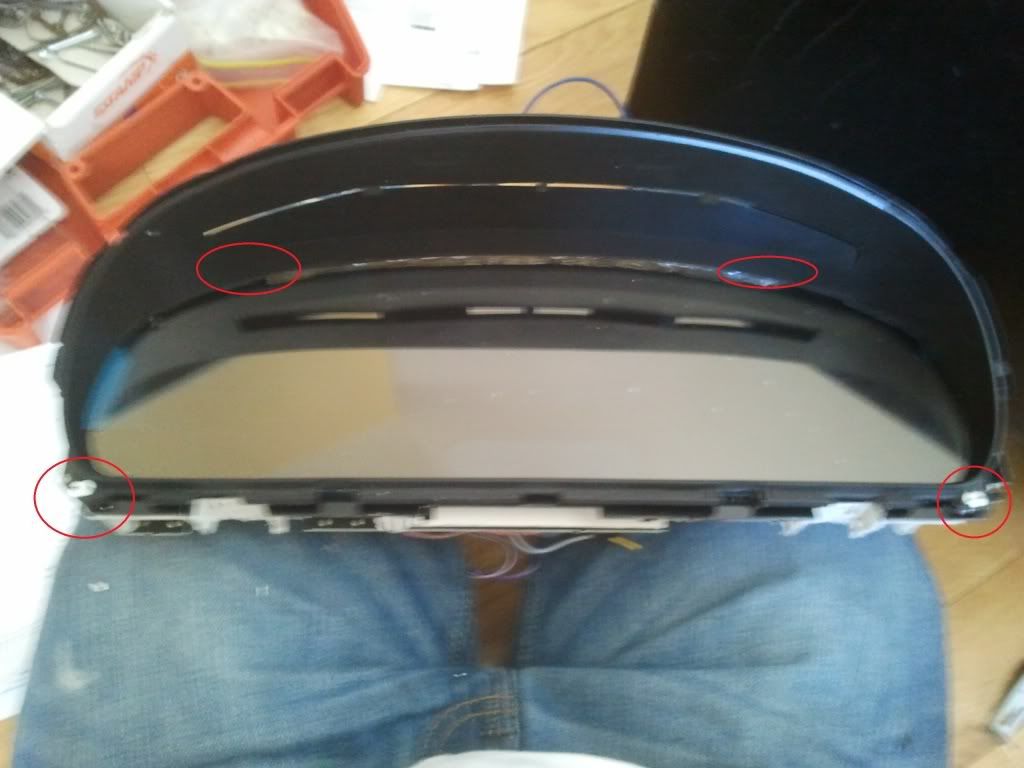
First we'll start off by dissasembling the Mx-3 cluster and salvaging what we need. we'll need the black oval ring so be sure not to break it.
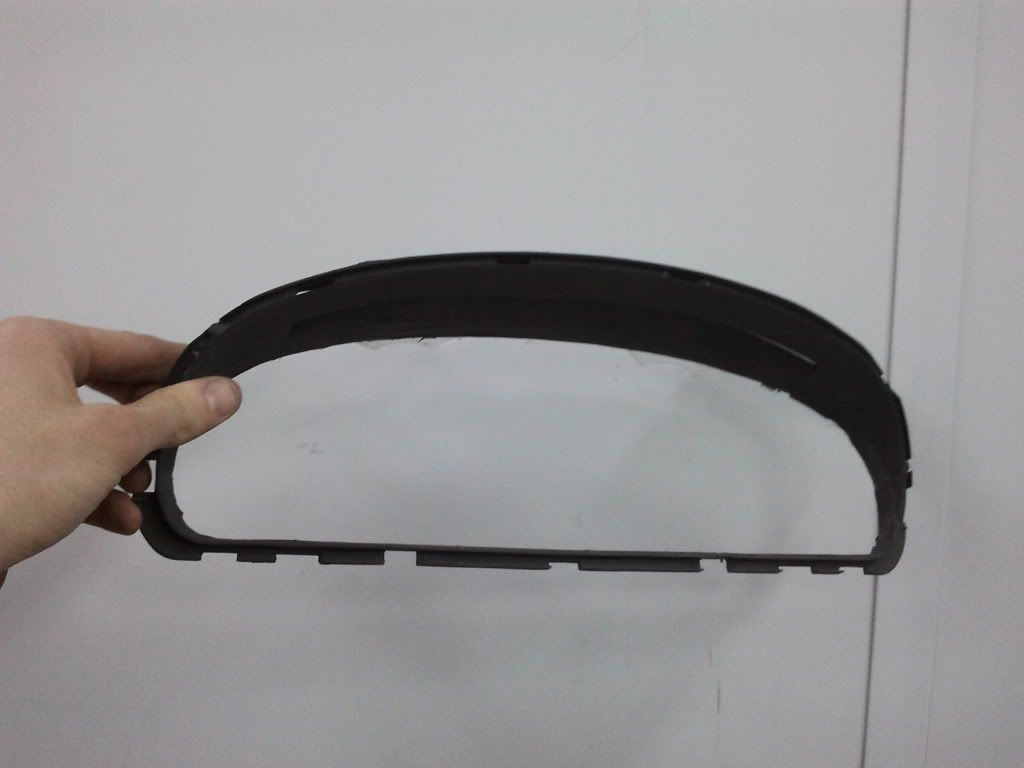
With the black oval off, you're to have to remove the leftover plastic that goes beyond the back to make it flush so we can glue on a plexi right on it.
As for tinting, you can use a blue fitler(which i havent found yet) then a limo glass tint.
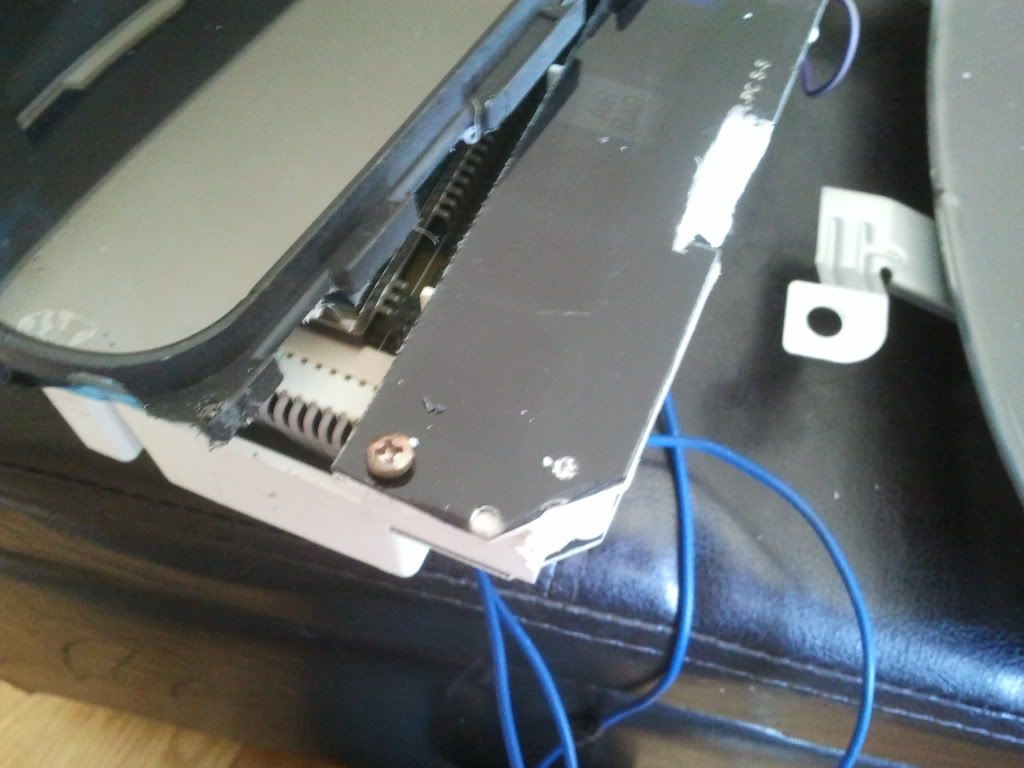
Then on the white housing. we'll only be using the connector holes so we can actually plug and play the cluster once it's completed. Now on the digital cluster housing, Youre going to have to remove everything in it and start drilling holes to put the connector holes. Try to be as close as possible as you can to place the connectors because you dont want them hitting anything when you put the cluster back in the dash.
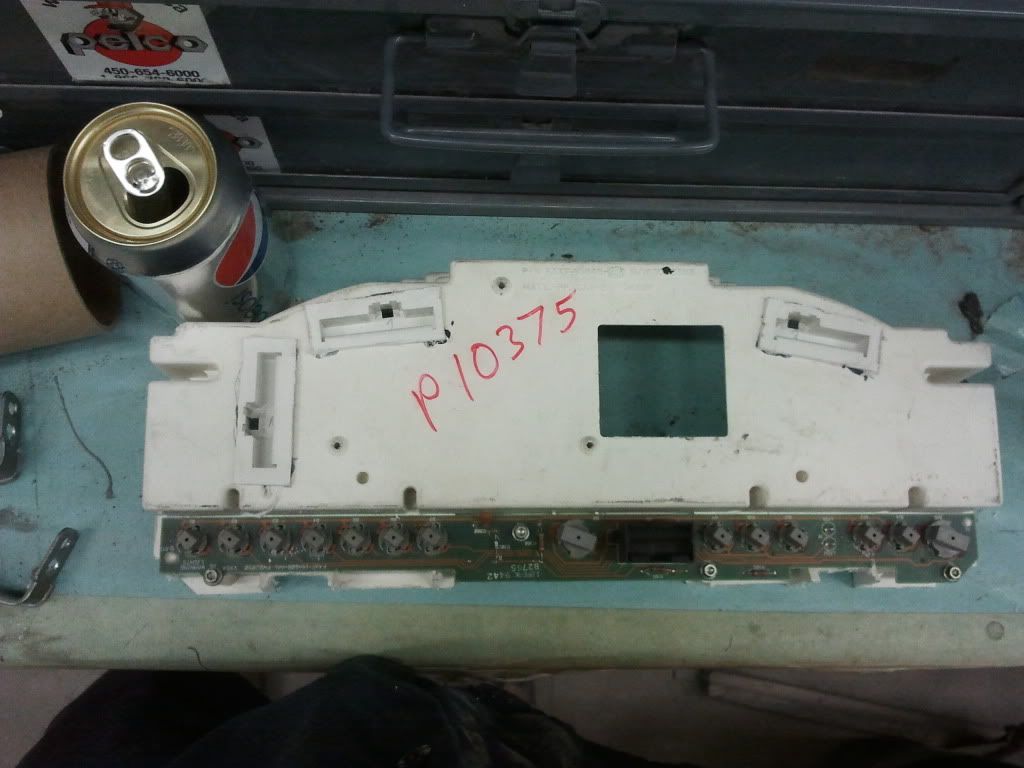
once you're sure about the location, put back the first piece of the digital board and make sure nothing hits anything.
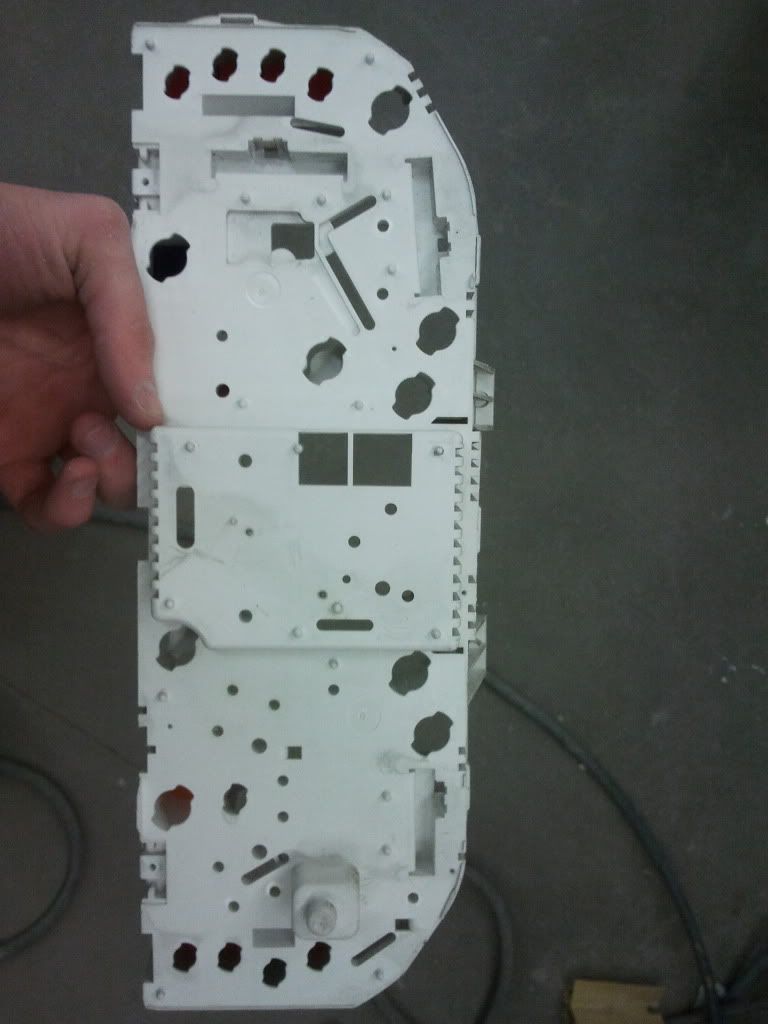
now on the digital cluster housing, we're going to cut everything we can that will get in the way
you can cut where the black hoels are and the red holes will be welcoming the positiong bracket that holds the cluster in place.

for the warning lights you have to cut the lower corners and make sure you cut the same rectangles as in the previous picture to clear the bracket holes. then just put 1 screw on each side. you might ahve to cut through the black oval so you clear the two screws you just put in. and to hold the new plexi glass, 4 screw should do the job.
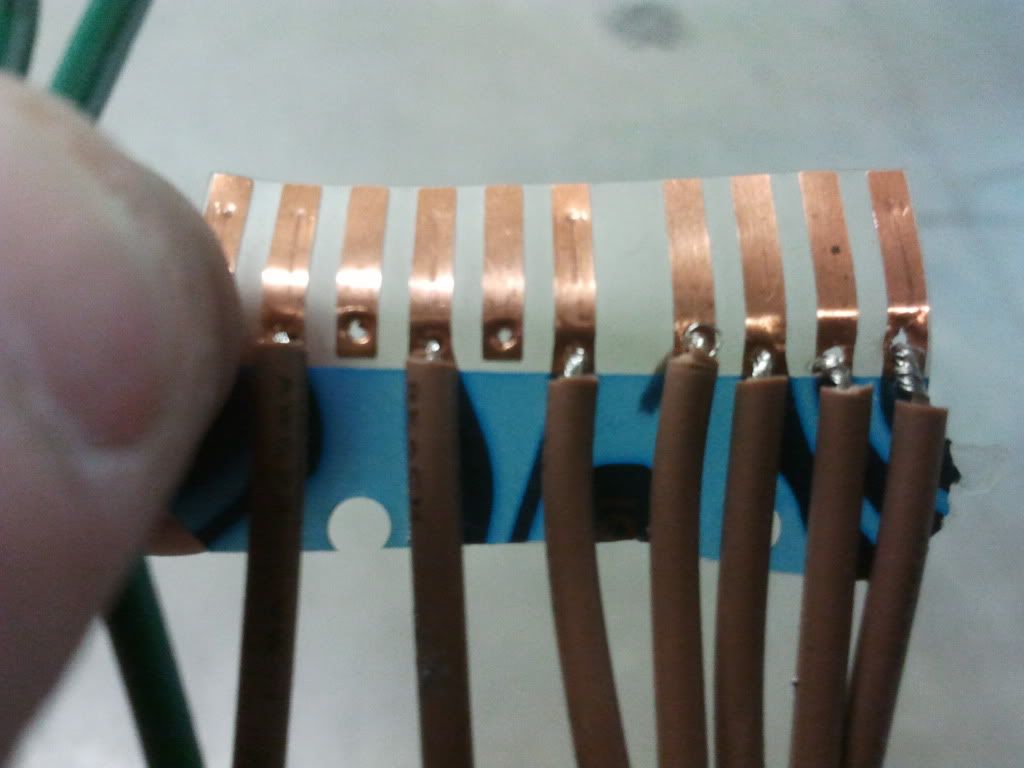
This is it for my quick modding tutorial for the housing. will go to electrical now.