fowljesse's GS/SE DE/ZE ;)

In this section, Users can post worklogs for their vehicle and show users their projects. (MX-3 ONLY!). Please create only ONE topic when starting a project, and DO NOT create 2 worklogs for the same vehicle, even though they are different projects. READ THE STICKY!
Post Reply
User avatar
cjthor
Forum Moderator
Posts: 5018
Joined: November 26th, 2000, 2:01 am
Location: Portland Oregon
Contact:

Re: fowljesse's GS/ZE/DE/SE ; )

Post by cjthor »

Building custom exhaust......8 hours
Image

Fabbing stainless steel exhaust tip......2 hours
Image

Polishing and welding on tip......40 minutes
Image

Watching Jesse listen for words of wisdom.......priceless
Image
Jarid Perry
94 mx3 Turrrbooooo (not even close to stock) 302WHP
71 Chevy C20 (tow rig!!)
77 Jeep CJ5 (no way its stock)
06 MINI Cooper S JCW GP (few goodies) 210WHP
2008 MINI Cooper Clubman S
User avatar
onlytrueromeo
Senior Member
Posts: 2756
Joined: May 16th, 2007, 10:05 pm
Location: Albany, NY

Re: fowljesse's GS/ZE/DE/SE ; )

Post by onlytrueromeo »

^lol
User avatar
fowljesse
Supporting Member
Posts: 5676
Joined: March 17th, 2006, 2:59 pm
Location: portland, OR
Contact:

Re: fowljesse's GS/ZE/DE/SE ; )

Post by fowljesse »

:lol:
Words of wisdom: You should have put the safety glasses over your EYES!

When I met Cjthor to drag race, I was impressed by his side-exit exhaust, and had to do it. As you can see, it's pretty high-flow, with only 1 bend, and the only restriction (not much at all) is the Flowmaster Hushpower muffler that Stereoking15 hooked me up with (Thanks!). It sounds great, but a bit loud. It's much better than the Magnaflow in it's place, though.
It fit perfectly in the Cat's place. Here's Mr Eyeball test fitting it:

Image

Here it is done:

Image

I wanted the tip to be in the airflow, and angled back a bit, and flared out, and ovaled. There wasn't anything exactly like thatin about 8 places I looked (Perfomance, and muffler shops), so I decided to make it.
Cjthor had a piece of bent 3" Stainless tube, so I came up with a way to make it work. I cut triangle slits, so that when they were compressed, it would smoothly step down the diameter to 2.25.

Image

We compressed it with a hose clamp, and tack welded it. It was really hard, since it's strong Stainless!

Image

I then ground the welds smoooth, and polished it a little with the wire wheel. It would look great polished to a shine, but I'm going to paint it flat black.
There a noticable difference in power, but it's hard to pinpoint, because it's louder, and tricks me into thinking the engine is working harder than it is.
I was able to put my TWM short shifter in, too. I wasn't sure if I liked it at first, because it takes more effort to push, but it does shift faster, so now I like it! The TWM has a bearing in the bottom of it, so it's very smooth, and precise. It always sounds like I have an automatic when I shift.
Last edited by fowljesse on October 28th, 2008, 2:34 am, edited 1 time in total.
'93 GS - P&P DE w/ ZE exh. cams/ pistns, KLG4 IM, 65mm TB, MSnS, Phenos, K&N RAI, UDP, Grnd wires, rear batt, filld MM, torq strt, TWM short shftr, Exedy, Lng tube hdrs 2.5" Side exhaust, H&R sprngs, Poly bushngs, strutbars, Alum. crss mmber&tiebar, 22mm swybar, solid links, Direzzas, leather int, Alpine 9805 stereo & alrm, keyless entry, 10 Boston Accoustics spkrs, Prjectrs, Blaster2, CF hood, FG hatch, Lexan
User avatar
Mooneggs
Forum Moderator
Posts: 6128
Joined: August 10th, 2005, 10:08 pm
antispam: ~SPAM*SUX~
Location: Hillsboro, OR
Contact:

Re: fowljesse's GS/ZE/DE/SE ; )

Post by Mooneggs »

wow that's awesome! I can't wait to hear/see it in person!
User avatar
fowljesse
Supporting Member
Posts: 5676
Joined: March 17th, 2006, 2:59 pm
Location: portland, OR
Contact:

Re: fowljesse's GS/ZE/DE/SE ; )

Post by fowljesse »

Come on by, and we'll hit the skatepark, too.
It's about 6 Db too loud for daily driving, but I'm about to go on a serious sound-proofing campaign, so it'll be fine.
After we put in the headers, and do my secret innovation (to be revealed if it works), I'll have gained about 20 HP over what was on there, which was probably about +2hp over stock.
'93 GS - P&P DE w/ ZE exh. cams/ pistns, KLG4 IM, 65mm TB, MSnS, Phenos, K&N RAI, UDP, Grnd wires, rear batt, filld MM, torq strt, TWM short shftr, Exedy, Lng tube hdrs 2.5" Side exhaust, H&R sprngs, Poly bushngs, strutbars, Alum. crss mmber&tiebar, 22mm swybar, solid links, Direzzas, leather int, Alpine 9805 stereo & alrm, keyless entry, 10 Boston Accoustics spkrs, Prjectrs, Blaster2, CF hood, FG hatch, Lexan
IMACHU2
Regular Member
Posts: 559
Joined: September 25th, 2008, 4:11 pm
Location: Guelph Ontario Canada

Re: fowljesse's GS/ZE/DE/SE ; )

Post by IMACHU2 »

Now I know why you wanted Moon Discs for the front only! It needs them! Two Moon discs and two moon eyes decals away from perfection. Very interesting build you got going. :love:
Dominic Toretto's whip is a MaZda and his cell phone number starts in "(323)"
My work log http://mx-3.com/phpBB3/viewtopic.php?f=46&t=72471
Image
User avatar
Mooneggs
Forum Moderator
Posts: 6128
Joined: August 10th, 2005, 10:08 pm
antispam: ~SPAM*SUX~
Location: Hillsboro, OR
Contact:

Re: fowljesse's GS/ZE/DE/SE ; )

Post by Mooneggs »

did someone say mooneggs? OH mooneyes... lol we went to a swap meet last saturday and saw all the moon decals... maybe I should use that as my logo 8)

I agree though.. moon discs would look awesome with the whole lunar look going on!
IMACHU2
Regular Member
Posts: 559
Joined: September 25th, 2008, 4:11 pm
Location: Guelph Ontario Canada

Re: fowljesse's GS/ZE/DE/SE ; )

Post by IMACHU2 »

Not Moon eggs! Moon Discs and Moon eyes! :lol:

Image
Dominic Toretto's whip is a MaZda and his cell phone number starts in "(323)"
My work log http://mx-3.com/phpBB3/viewtopic.php?f=46&t=72471
Image
User avatar
fowljesse
Supporting Member
Posts: 5676
Joined: March 17th, 2006, 2:59 pm
Location: portland, OR
Contact:

Re: fowljesse's GS/ZE/DE/SE ; )

Post by fowljesse »

I made a set for a hot rod I had. I'll make a couple for this car.
'93 GS - P&P DE w/ ZE exh. cams/ pistns, KLG4 IM, 65mm TB, MSnS, Phenos, K&N RAI, UDP, Grnd wires, rear batt, filld MM, torq strt, TWM short shftr, Exedy, Lng tube hdrs 2.5" Side exhaust, H&R sprngs, Poly bushngs, strutbars, Alum. crss mmber&tiebar, 22mm swybar, solid links, Direzzas, leather int, Alpine 9805 stereo & alrm, keyless entry, 10 Boston Accoustics spkrs, Prjectrs, Blaster2, CF hood, FG hatch, Lexan
User avatar
fowljesse
Supporting Member
Posts: 5676
Joined: March 17th, 2006, 2:59 pm
Location: portland, OR
Contact:

Re: fowljesse's GS/ZE/DE/SE ; )

Post by fowljesse »

EDIT: These pics are not good. I'll get better ones :P

I now have an engine torque damper, and it helps a little. Eventually, I want the engine to be stationary enough that I can get rid of the flex pipe. It may be a pipe dream :shrug: Here's the strut:

Image

It's for a 240sx (Thanks for the idea Turbulence!) Cjthor, and I had to make the brackets.


This one's a work of art, completely hand made. Cjthor did the welding, and I did the shaping.

Image

This one was cut, and reshaped from the one that came with the strut.

Image

The strut was supposed to be red, but was Fuschia! I knew it wouldn't be a good annodizing job for $25, and was going to repaint it anyway.

Also, I did some more aerodynamic stuff. I got a perforated metal basket from a thrift store, and cut it up, and screwed it on for fitment. It will be molded in soon.

Image
Image

I had a little extra perforated stuff, so I made a little Phoenix hood ornament to temporarily cover the 2 holes in the hood.
Next, I'm going to make 2 catch cans (1 for the PCV line, and one for the one that plugs in just after the VAF) out of Martini shakers.
Last edited by fowljesse on October 28th, 2008, 8:06 pm, edited 2 times in total.
'93 GS - P&P DE w/ ZE exh. cams/ pistns, KLG4 IM, 65mm TB, MSnS, Phenos, K&N RAI, UDP, Grnd wires, rear batt, filld MM, torq strt, TWM short shftr, Exedy, Lng tube hdrs 2.5" Side exhaust, H&R sprngs, Poly bushngs, strutbars, Alum. crss mmber&tiebar, 22mm swybar, solid links, Direzzas, leather int, Alpine 9805 stereo & alrm, keyless entry, 10 Boston Accoustics spkrs, Prjectrs, Blaster2, CF hood, FG hatch, Lexan
User avatar
mx3boyze
Regular Member
Posts: 379
Joined: September 5th, 2008, 7:22 pm

Re: fowljesse's GS/ZE/DE/SE ; )

Post by mx3boyze »

Any sound clips of this side exit exhaust? Looks really nice btw and The front bumper will look good without any openings in it lol Better than I thought it would at least
User avatar
fowljesse
Supporting Member
Posts: 5676
Joined: March 17th, 2006, 2:59 pm
Location: portland, OR
Contact:

Re: fowljesse's GS/ZE/DE/SE ; )

Post by fowljesse »

I'll get a sound clip. I've been meaning to. It really sounds awesome, like something much bigger.
Those photos look photoshopped, but they're actually not! They're taken on my phone. I need my girl to show me how to use the digital SLR. I will get some better pix tomorrow.
Last edited by fowljesse on October 28th, 2008, 2:45 am, edited 1 time in total.
'93 GS - P&P DE w/ ZE exh. cams/ pistns, KLG4 IM, 65mm TB, MSnS, Phenos, K&N RAI, UDP, Grnd wires, rear batt, filld MM, torq strt, TWM short shftr, Exedy, Lng tube hdrs 2.5" Side exhaust, H&R sprngs, Poly bushngs, strutbars, Alum. crss mmber&tiebar, 22mm swybar, solid links, Direzzas, leather int, Alpine 9805 stereo & alrm, keyless entry, 10 Boston Accoustics spkrs, Prjectrs, Blaster2, CF hood, FG hatch, Lexan
turbulence23
Regular Member
Posts: 156
Joined: May 19th, 2005, 4:11 pm
Location: The netherlands ( europe)

Re: fowljesse's GS/ZE/DE/SE ; )

Post by turbulence23 »

hey man, that really looks great 8)

i also think that the engine damper works a little, when using it in combination with filled enginemounts or the AWR enginemounts the engine really isnt able to move a lot
2.5L KLZE engine, CF hood, Postert frontbumper, kmax skirts, custom diffusor..

MY RIDE:
http://www.mazdamx-3.nl/members/member_show.php?id=102
User avatar
fowljesse
Supporting Member
Posts: 5676
Joined: March 17th, 2006, 2:59 pm
Location: portland, OR
Contact:

Re: fowljesse's GS/ZE/DE/SE ; )

Post by fowljesse »

I built a set of 8mm MSD plug wires, and it only cost me $65. Here's the write-up:

MSD IMO, make the best spark plug wires, and I've made sets out of DIY kits before, as well as changed applications, and shortened my OEM set. It bothered me that OEM cost around $120 for 7mm wires. So I decided to make my own. MSD DIY kits for V6s cost about $90, but V8s cost around $65, because they sell better. So I got the V8 kit. If you do this, send me your extra 2 wires :wink:

This is the kit I got:
Image

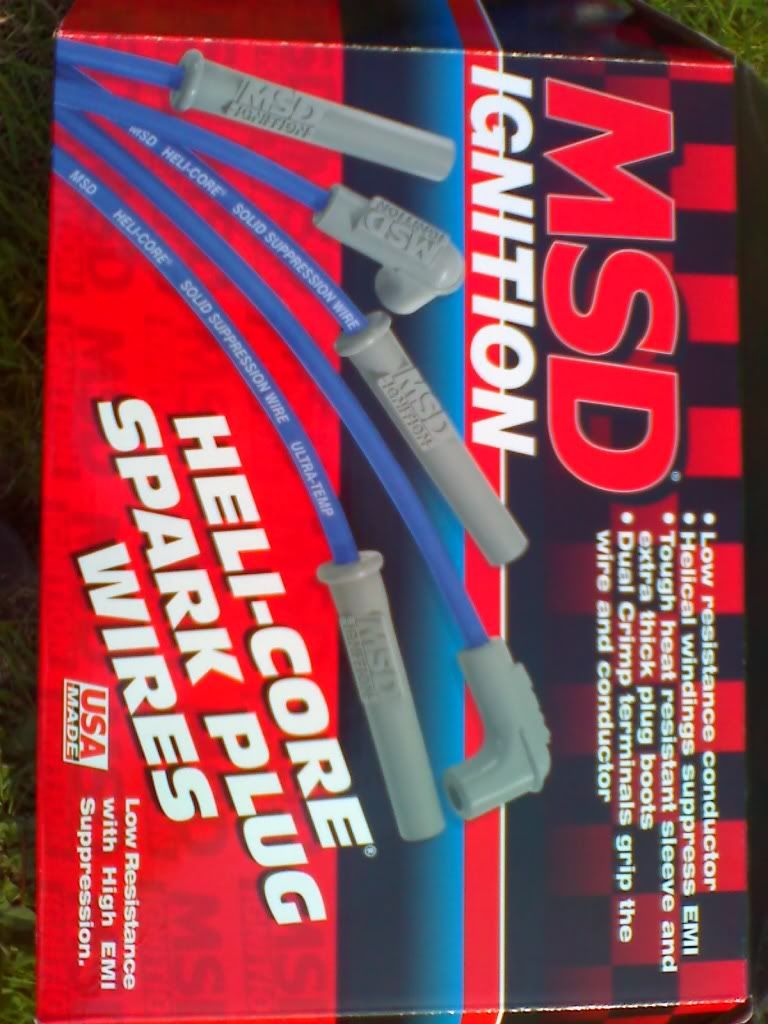
Here they are side by side:
Image

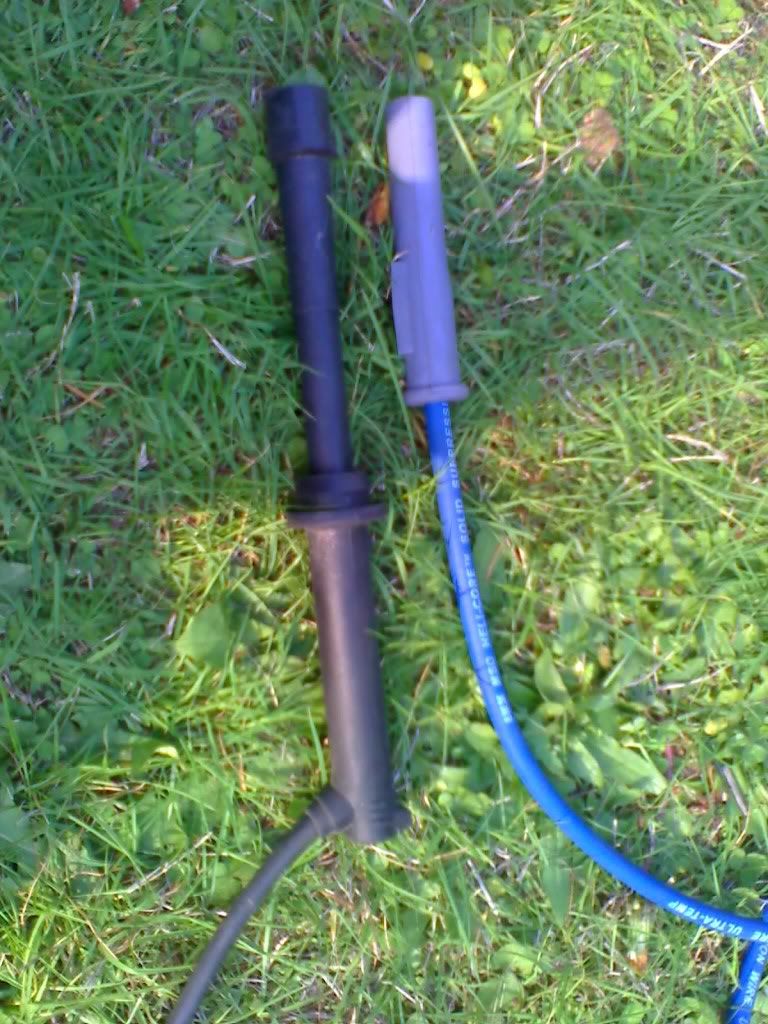
It comes with standard, and HEI terminals for the disty side. Be sure to get the ones with the straight end on the spark plug side.

First you have to take apart a wire. Normally (on a V8), you'd start with the shortest wire on both the car, and the kit, but even the shortest one in the kit is long enough for the longest on our car, so it doesn't matter.

Clean your old wires with rubbing alcohol!
Image

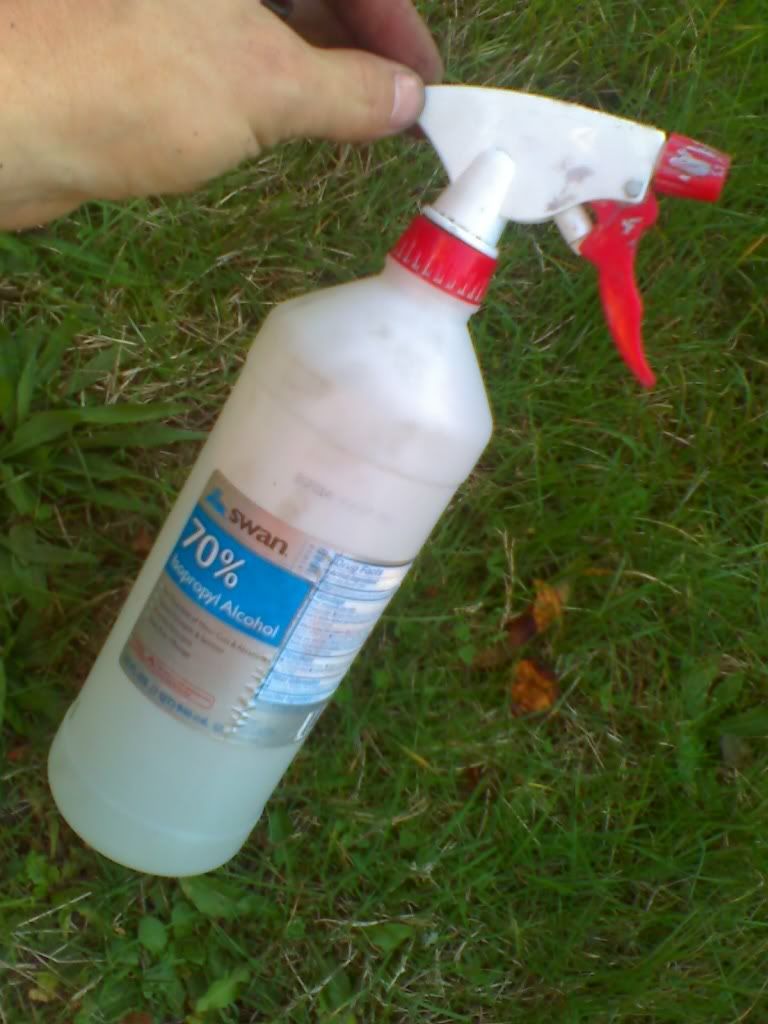
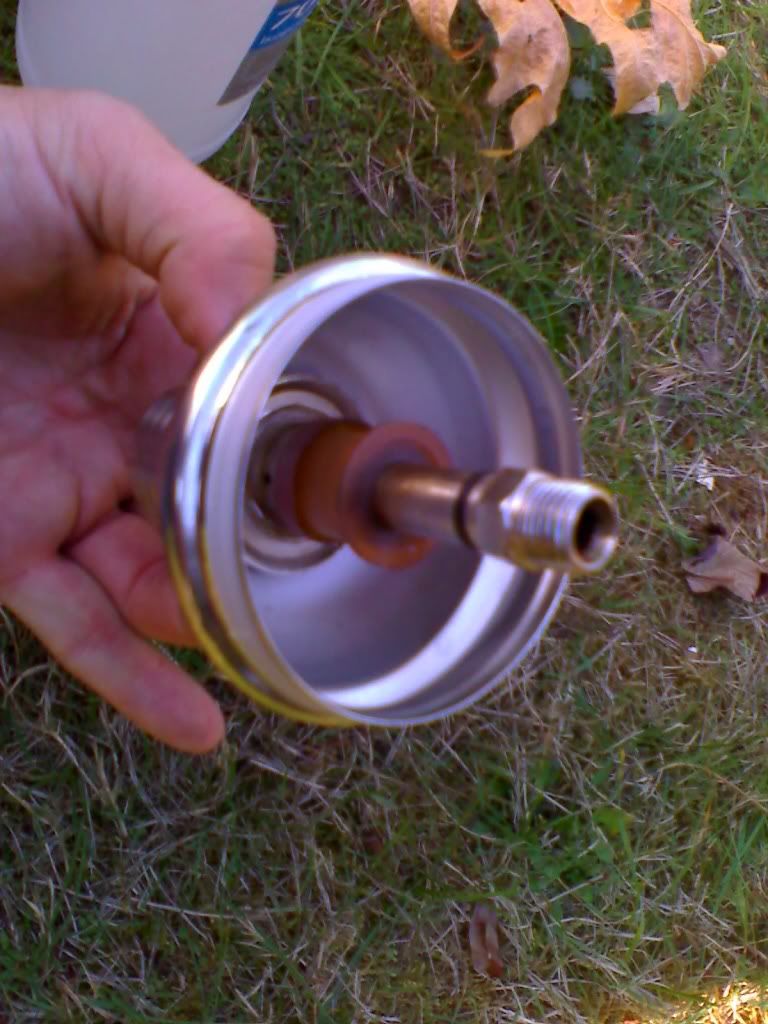
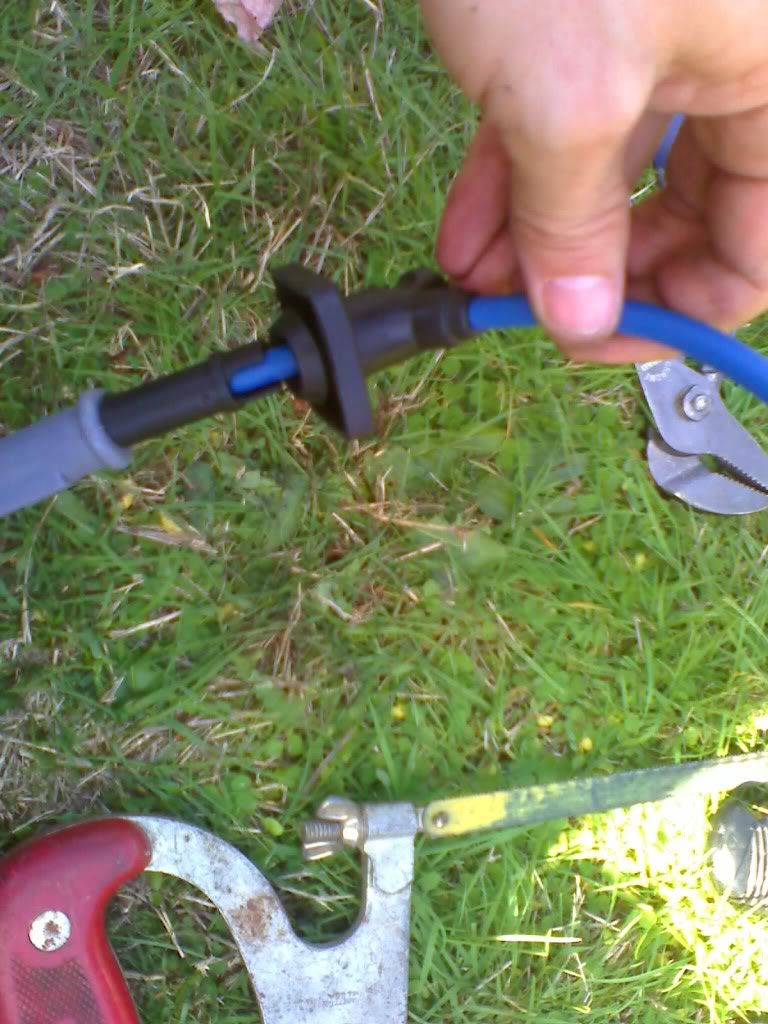
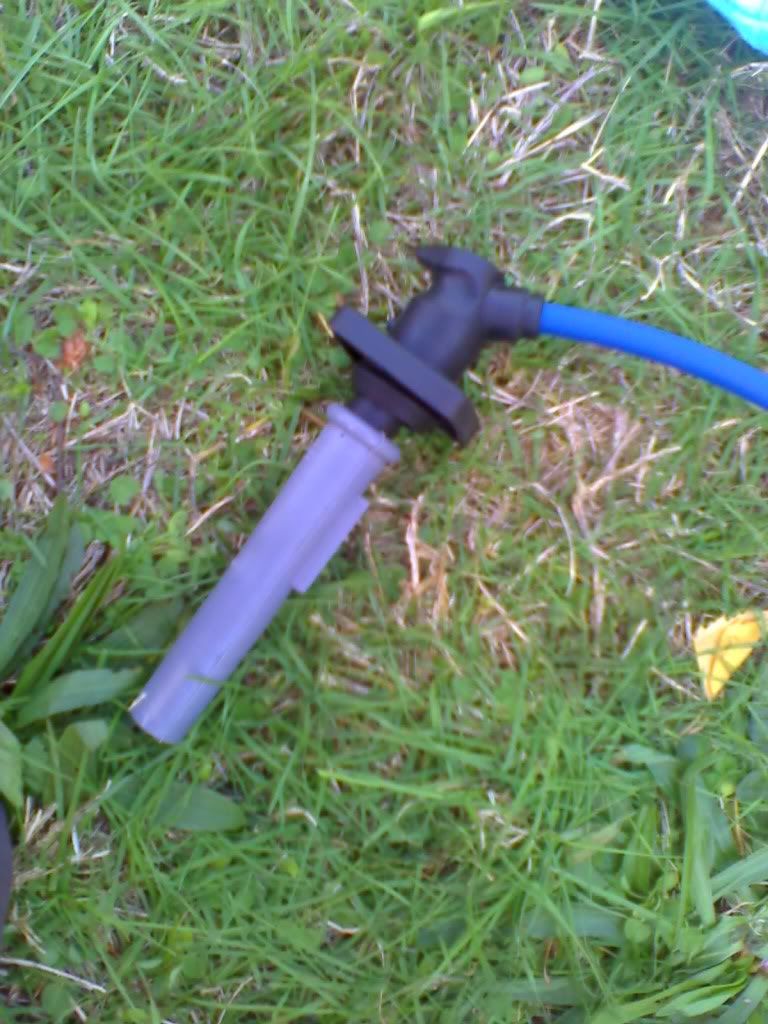
This is important. I'll tell you why later. Pull off the boot on the disty side, and then pull off the part you grab that sticks up from the valve cover. Now pull off the plastic sleeve, by twisting the wire itself, until the pins on the side of the plug end terminal line up with grooves inside the plastic sleeve. This is trial and error, but easy, once you get it. Pull the sleeve right off the plug end. If you're going to throw away your old set, cut the wire in the middle, and it'll be easier to pull off the end :)

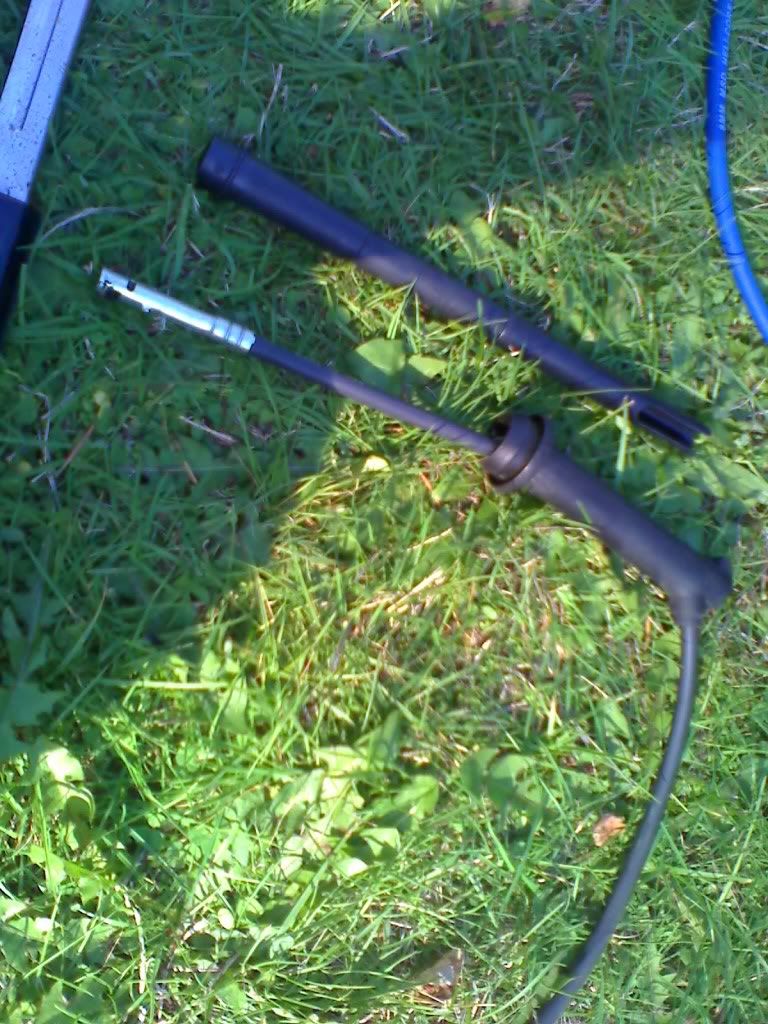
Here's the plastic sleeve next to the grabber part, still on the wire:

Image

Now put the new wire next to the old one (plug ends) and cut off the OEM sleeve where it lines up with top of the MSD boot.

Image

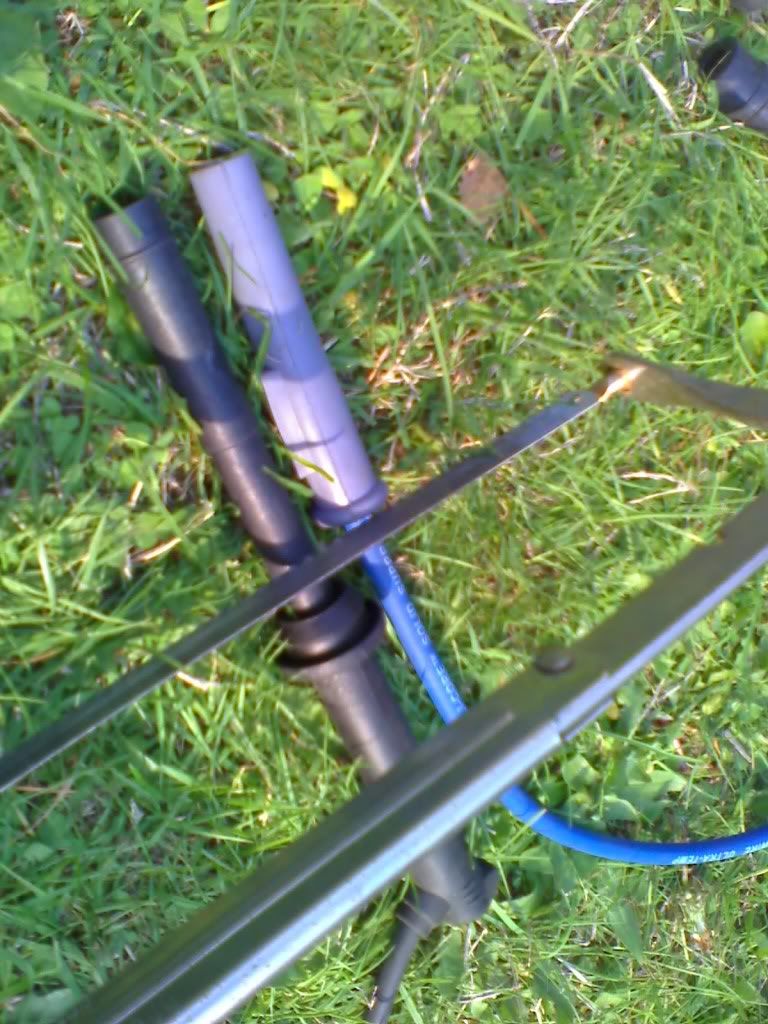
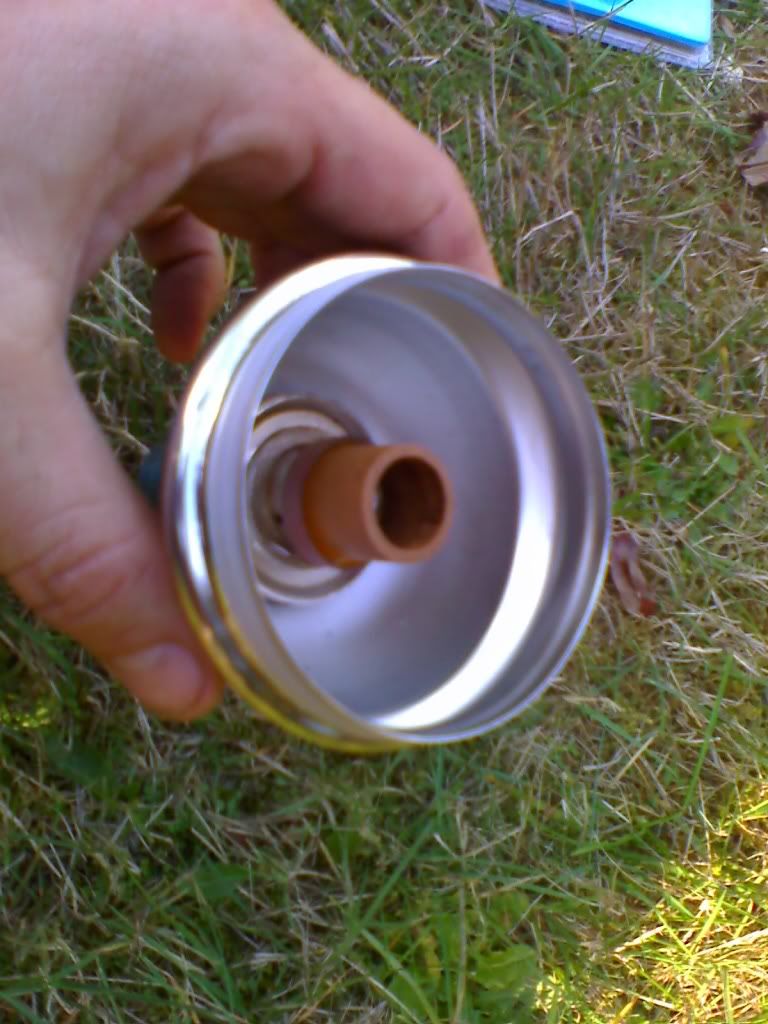
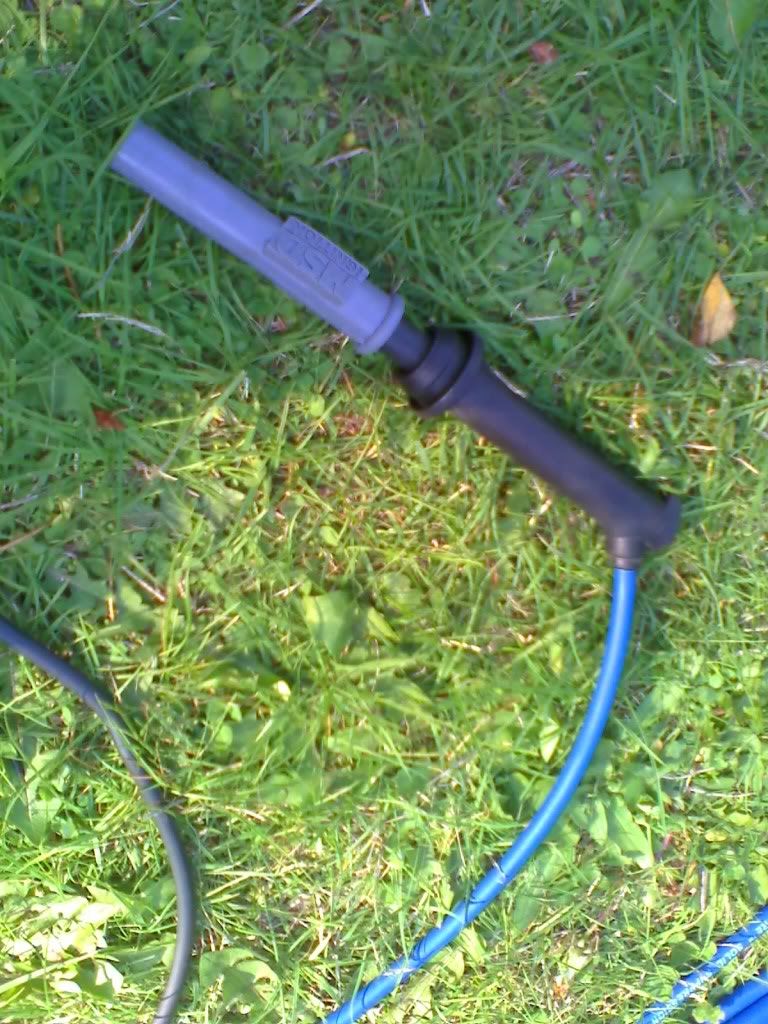
This is so the overall height is the same, and your plug holes are protected. Now clean out the inside of the sleeve, and slip it down the wire so the cut end butts up against the top of the boot like so:

Image

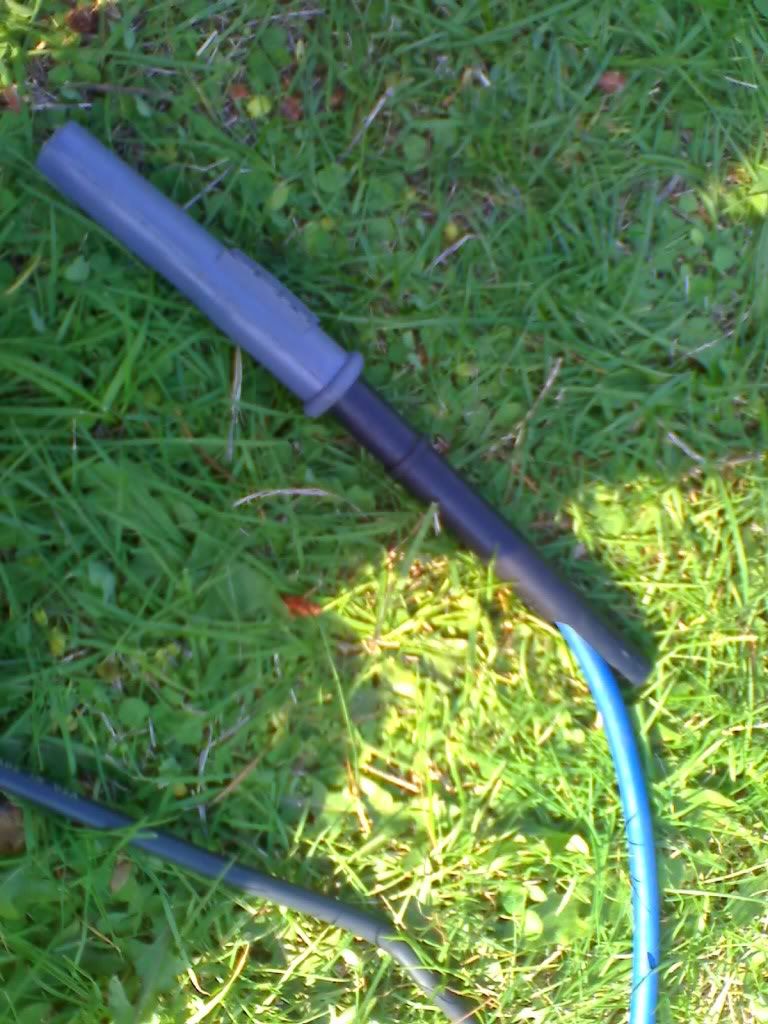
Then clean out the the rubber grabber part thoroughly with rubbing alcohol, and while it's wet, slip it on down over the sleeve, being sure that the wire coming out of the groove lines up with the opening of the grabber part like this:

Image

The reason for all the cleaning with alcohol is so that all the rubber/ silicone part stick together when dry. This way there's less force on the end of the wire when you pull it out.

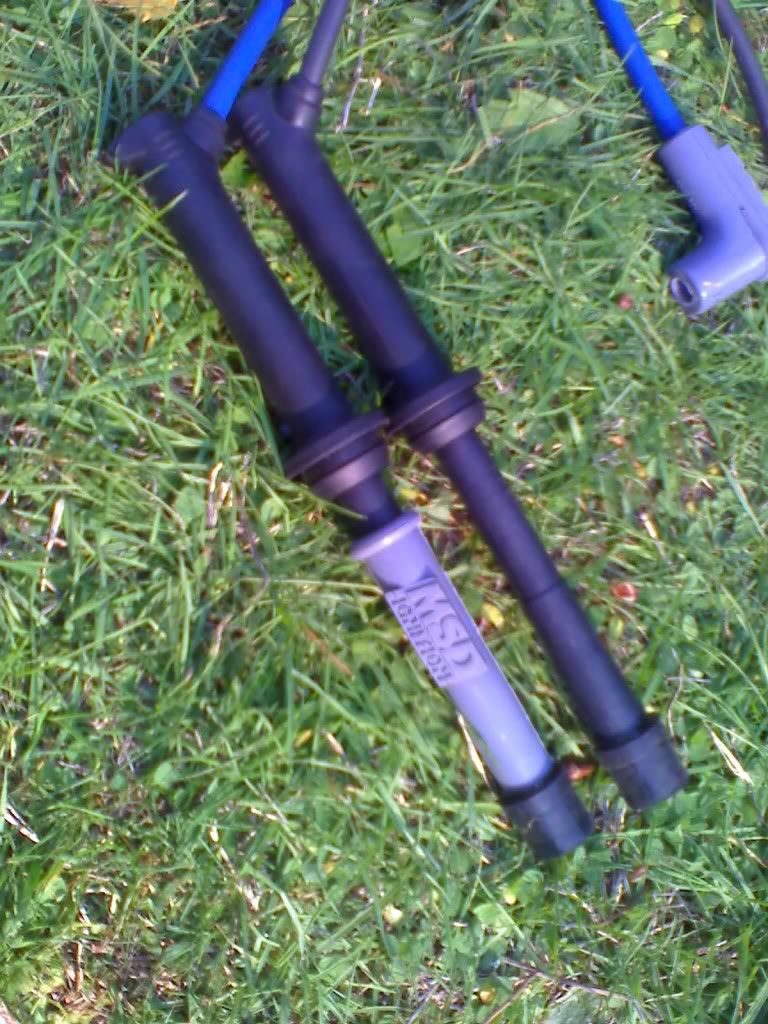
Here they are done, front, and rear banks:

Image
Image

Here's the rear, new next to old. I put the rubber end piece on from the OEM sleeve onto the MSD boot, but found that it's unnecessary.

Image

Now you're ready for the disty end!
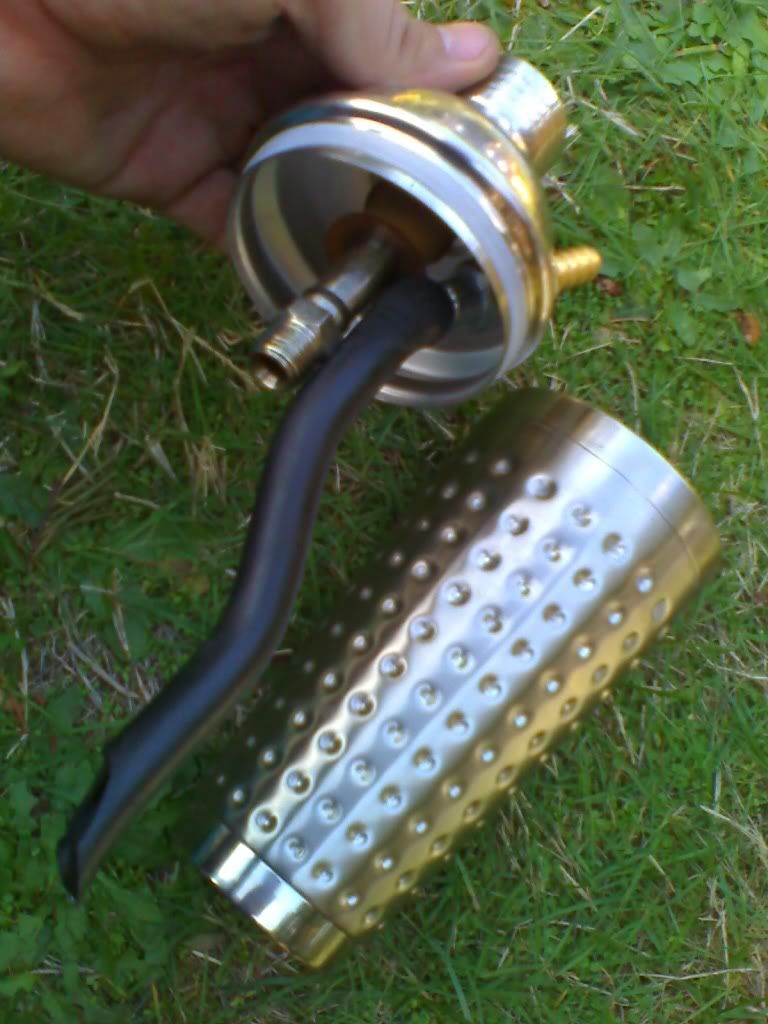
I made mine a short as possible for less resistance. If you want to tuck them, or do something fancy, you will have plenty to work with. Plug the plug side in, and route it however you want, then hold the disty side so it just touches the disty where it's going to plug in, and mark it. ALSO, mark it on the spot that's touching the disty, so you know what direction to orient the bend in the boot, so you don't have to twist the wire to plug it in. This could help the longevity of your wires. Now cut the wire about 5mm past your mark, and carefully cut the wire about 2mm deep where your mark is. The kit comes with a tool to do this, but I used scissors because I've done it this way for years, and it's easier for me. If you use scissors, just go around the wire lightly, like you would a metal pipe with a pipe cutter. You only need to go through the outer layer, and the inner layer will pull apart easily, and the core will not.

Image

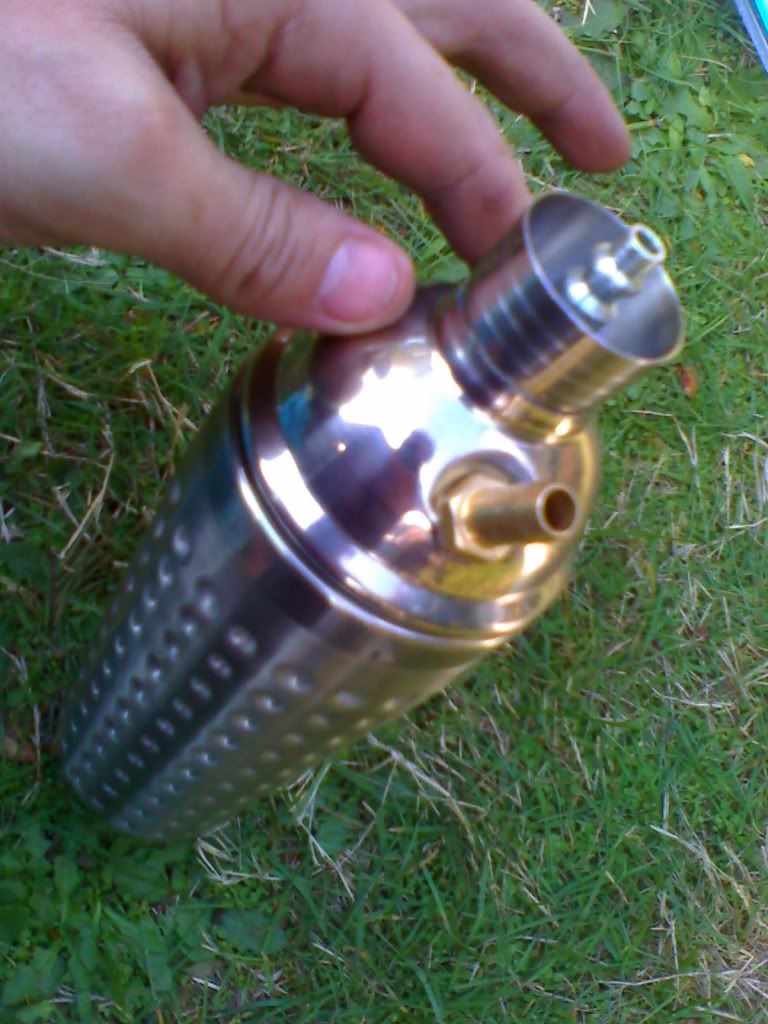
Now, spray the new boot with alcohol (to lube it), and slide in on a couple inches from the end.

Image

Crimp on the 90 degree terminal per instructions, using the tool. I found it easier to crimp it a little with pliers, to hold it in place. Line up your mark with the open part of the terminal, so it bends the right way to go into the disty. Slide the boot into place, and you're done with one! Repeat as necessary. The plug ends are different on the F & R banks, but the procedure is the same.
My kit only came with 2 standard disty terminal ends (the ones we need), so I went back, and they gave me them from another kit. IDK if it's because I got a HEI specific kit, or they shorted me. You should see if they make a kit with straight plug ends, and standard disty ends.
Now, with my MSD Blaster SS coil, I'm sure that there are 15,000 more volts going to my plugs than with the stock coil.
Last edited by fowljesse on November 9th, 2008, 2:07 pm, edited 1 time in total.
'93 GS - P&P DE w/ ZE exh. cams/ pistns, KLG4 IM, 65mm TB, MSnS, Phenos, K&N RAI, UDP, Grnd wires, rear batt, filld MM, torq strt, TWM short shftr, Exedy, Lng tube hdrs 2.5" Side exhaust, H&R sprngs, Poly bushngs, strutbars, Alum. crss mmber&tiebar, 22mm swybar, solid links, Direzzas, leather int, Alpine 9805 stereo & alrm, keyless entry, 10 Boston Accoustics spkrs, Prjectrs, Blaster2, CF hood, FG hatch, Lexan
User avatar
fowljesse
Supporting Member
Posts: 5676
Joined: March 17th, 2006, 2:59 pm
Location: portland, OR
Contact:

Re: fowljesse's GS/ZE/DE/SE ; )

Post by fowljesse »

I had an air/ oil seperator in my PCV line to keep oil out of my intake manifold, but the racetrack said I can't have glass or plastic there. I've been wanting a catch can anyway, and have been looking into them. The cheap Ebay ones fall apart, and the good ones are too expensive, so I decided to make my own. In doing so, I incorporated the oil seperator :)

I thought about what to start with, and came up with it..
I went to a discount store (Ross) that sells stuff that didn't sell in the initial store. I got a double walled Martini shaker. This is good because it's insulated, and keeps the inside cooler, which is good for what catch cans do; they seperate the oil through condensation. I also like that it's Stainless steel, 2 pieces that can seperate to be cleaned, lightweight, and a good size.
I put the hoses in the cap so I can remove the bottom to be cleaned.
I was going to do a write-up, but it got too complicated :|
I cut off the top lip of the lid, and inverted the cap, so I could screw in the piece of the air/ oil seperator. It was alot tougher than it looks... It involved a washer, and 1.5 moldable silicon earplugs (for a gasket).
This is it:

Image

This is the element that actual seperates the air/ oil:

Image

Then I put in the intake hose, which needs to go to the bottom of the can, so there's space between the line in, and the line out, so the oil can condense, and fall out of colloidal suspension. I drilled a hole just big enough to thread my Home Depot 1/4" brass fitting with a 3/8" nipple into it. Then I pushed on it to bend the metal around it, so it pointed downward. Then I screwed the leftover end of the air/ oil seperator onto it, and attached a piece of the OEM PCV hose, and cut the end at an angle.
Here it is:

Image

Here it is all done:

Image

With the condensation, and the seperator, I will not get a drop of oil in my intake again. It's the ultimate catch can, and it only cost me about $19.

Here it is in place:

Image

And here is the most recent picture of my engine bay:

Image

I have the intake set up this way because soon I will make a Fiberglass hood with a scoop for ram air, and in the meantime, I can pop out the headlight, and route the dryer vent hose to the headlight hole for ram air. It works great as is, anyway :shrug:
I am open to questions :D
'93 GS - P&P DE w/ ZE exh. cams/ pistns, KLG4 IM, 65mm TB, MSnS, Phenos, K&N RAI, UDP, Grnd wires, rear batt, filld MM, torq strt, TWM short shftr, Exedy, Lng tube hdrs 2.5" Side exhaust, H&R sprngs, Poly bushngs, strutbars, Alum. crss mmber&tiebar, 22mm swybar, solid links, Direzzas, leather int, Alpine 9805 stereo & alrm, keyless entry, 10 Boston Accoustics spkrs, Prjectrs, Blaster2, CF hood, FG hatch, Lexan
Post Reply

Return to “MX-3 Worklogs”