Page 1 of 2
Get your timing belt on correctly the first try
Posted: August 29th, 2011, 9:38 pm
by Ryan
Alrighty, the GF and I devised a scheme to get the timing belt exactly on the first time every time, because nobody likes re-compressing the HTBT.
Set up all three gears where they should be if you were doing this normally.
Link.
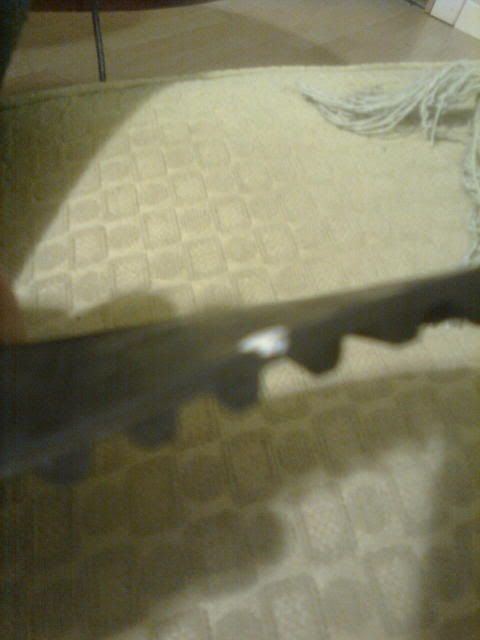
Get your new timing belt, and a marker of some sort. I favour whiteout with a brush.
Now, make a dot on the edge, not on a tooth, but between two teeth, what I will call a hole.
Like so:
Now count the holes. Don't count the one you just marked, the next one CW to it is #1. Start over on each mark.
The key list:
-Mark your first hole.
-Starting counting over, make a mark on the 10th hole.
-Starting over, make another mark on the 2nd hole.
-Starting over, the 56th hole.
-Starting over, the 70th hole.
-Starting over, the 54th hole should have your first mark.
These marks match up with the little dots on the cam gears (3 close dots are the right head gear), and one mark should line up exactly with the bottom of the crank gear. (180º from the alignment mark, maybe a little to the right, as in 170º CW)
Line up the gears to the belt, and let your tensioner go with confidence.
Spin the crank over 720º, and the factory timing marks will be dead on. Say "Thank you, Tiffany and Ryan" in your head, and proceed with reassembly

Re: Get your timing belt on correctly the first try
Posted: August 30th, 2011, 1:29 am
by MrMazda92
Sticky this, Ryan's a champ for sure
Thanks for the write-up, I'll be using this.
Re: Get your timing belt on correctly the first try
Posted: August 30th, 2011, 12:19 pm
by mitmaks
we need to sticky this
Re: Get your timing belt on correctly the first try
Posted: August 31st, 2011, 1:08 am
by davmac
Thanks.
I've always wondered why tb manufacturers don't mark the belts. I did have one from Toyota for a 4runner that was marked on the belt to line up with cam and crankshaft marks - but have never seen another. When I'm lucky enough to change a belt before it breaks I do exactly as was done here - mark the old belt with paint marker and then transfer to the new belt (requires counting). A little tedious, but it has never failed me.
Re: Get your timing belt on correctly the first try
Posted: August 31st, 2011, 10:46 pm
by Trevor
I've had a few Subaru's Marked on the belt from the manufacture
Re: Get your timing belt on correctly the first try
Posted: December 19th, 2011, 6:24 am
by RX8SE3P
Wait... your GF is helping you work on the car?
Do you mean God Father or are you just a lucky bastard?
Re: Get your timing belt on correctly the first try
Posted: December 19th, 2011, 10:00 am
by Ryan
Was lucky for a day
She can be persuaded occasionally, as long as there's no chance she'll feel stupid for not being able to break a bolt loose.
Re: Get your timing belt on correctly the first try
Posted: December 19th, 2011, 11:16 am
by crazycanadian
Ryan wrote:Was lucky for a day
She can be persuaded occasionally, as long as there's no chance she'll feel stupid for not being able to break a bolt loose.
My gf gets mad at me and tells me to piss off when she can't crack a bolt loose.. I find it funny...
Ryan you write up although having a good idea isn't very clear... The way you have done it seems like it will only work for what motor??? I say this because you have specific numbers of spaces that are counted...
The way I do timing belts is to make marks before removing the old belt...I put 1 mark on the old belt and crank pulley... Then I move up the side opposite the tensioner to the cam gear and put 2 marks on both the gear and old belt... The I move to the next cam gear (if the motor has it) and put 3 marks on both the gear and the old belt... Then I take the old belt off do my counting and transfer the marks... Then I install my new belt lining up the marks I made.. Install tensioner and then spine motor by had a few times.. Line up factory timing marks make sure they are good...
By doing it this way it doesn't matter what motor you work on it'll work for all motors... Also you don't need to line up the factory timing marks before removing the old belt... This saves time..
Re: Get your timing belt on correctly the first try
Posted: December 19th, 2011, 11:47 am
by wytbishop
My wife touched a wrench once...I accidentally left it on the kitchen counter.
Re: Get your timing belt on correctly the first try
Posted: December 19th, 2011, 11:56 am
by Ryan
crazycanadian, this works on all K series motors. I only wrote it up for this motor specifically because we have the hydraulic timing belt tensioner that makes it a b---- to re-try if you get the timing off a tooth.
You're correct, but I found myself double checking by counting the teeth even after transferring marks. Its easier to spend a few minutes counting than a few minutes re-doing that damn tensioner.
You're basically re-iterating what I said.
Re: Get your timing belt on correctly the first try
Posted: December 23rd, 2011, 9:53 pm
by crazycanadian
Ryan wrote:crazycanadian, this works on all K series motors. I only wrote it up for this motor specifically because we have the hydraulic timing belt tensioner that makes it a b---- to re-try if you get the timing off a tooth.
You're correct, but I found myself double checking by counting the teeth even after transferring marks. Its easier to spend a few minutes counting than a few minutes re-doing that damn tensioner.
You're basically re-iterating what I said.
Pretty much... Just making it a little more clear for people who we all know don't always put 2 and 2 together and realize you wrote this up for a specific motor...
Re: Get your timing belt on correctly the first try
Posted: December 23rd, 2011, 11:54 pm
by Ryan
Mx-3.com, V6 Technical/Performance section.

Re: Get your timing belt on correctly the first try
Posted: December 24th, 2011, 1:35 am
by crazycanadian
Ryan wrote:Mx-3.com, V6 Technical/Performance section.
people are dumb these days... hahaha you never know... I have seen some pretty bad stuff that has come threw where I work... All because of what people read on the internet...
Most recent was a guy with a new high end BMW M3... He was trying to take the cats out and put test pipes in at home... When he couldn't do it he left everything unbolted.. including left the A/F ratio sensors and rear O2 sensors unbolted and dragging on the ground the whole way to my shop.. He was convinced he didn't need any of them because of a tuner software he was going to get to delete the O2's...

Took a fair bit to get him straightened out...
Re: Get your timing belt on correctly the first try
Posted: December 24th, 2011, 1:23 pm
by Mooneggs
I guess I didn't realize you could get it off by one tooth... Having just done a timing belt change in a parking lot during my road trip, I had a hard enough time just getting the final pulley on. I guess I just don't see how it's possible because the amount of teeth required just to get that final pulley on?
Re: Get your timing belt on correctly the first try
Posted: March 1st, 2012, 8:40 am
by aguiloco
Hi guys, I tried this method today and I found a little problem at the crank gear.
At 180º from the alignment mark there is no tooth to match the paint, is a "hole", so you can put the painted mark in front or behind it, around 170º or 190º, but never at 180º from the alignment mark on the top of the gear.
I had to align the painted dot of the belt to the right, on the tooth around 170º clockwise to get a perfect timing.
If you try it you will see what I mean.
Could be because the ZE´s crank gear is different?. On mine the timing mark (or notch) is on a tooth, maybe on the K8 the mark is between teeth, in that case the method should work fine.
Taking this consideration, this method is very usefull, thanks a lot!