Jaydogs 94 Mx-3 BP turbo
Posted: September 24th, 2007, 2:49 pm
This is my worklog for my newest build-up on my 94 Mazda Mx-3. I've allready swapped in a Bp-t engine from a 323 GTX a couple of yrs back. The stock GTX engine was a good engine and ran strong untill I melted a hole in the #3 cyl on June 3rd, earlier this yr at Road Atlanta. After carefull thought, I've decided to spend a few dollars, insuring that holes in pistons won't be another problem. I consider tunning a big part of the buildup, so that will be another issue to address once the car is up and running.
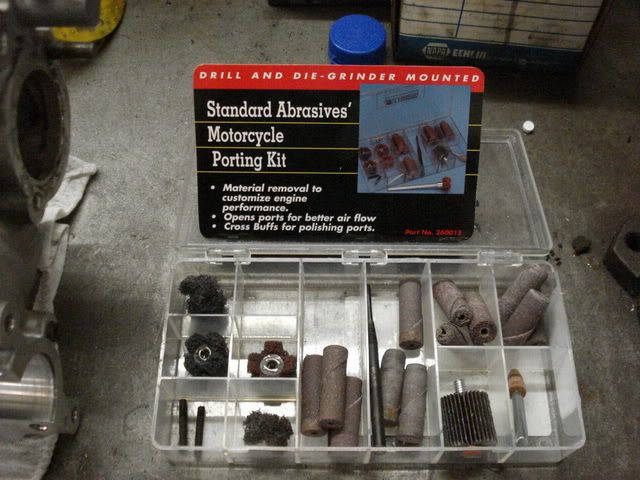
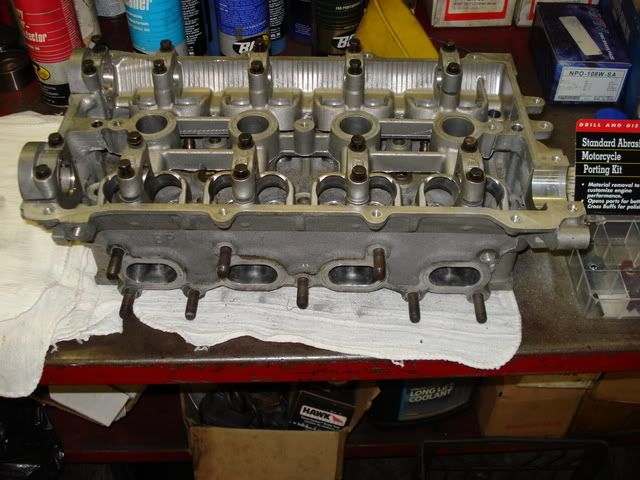
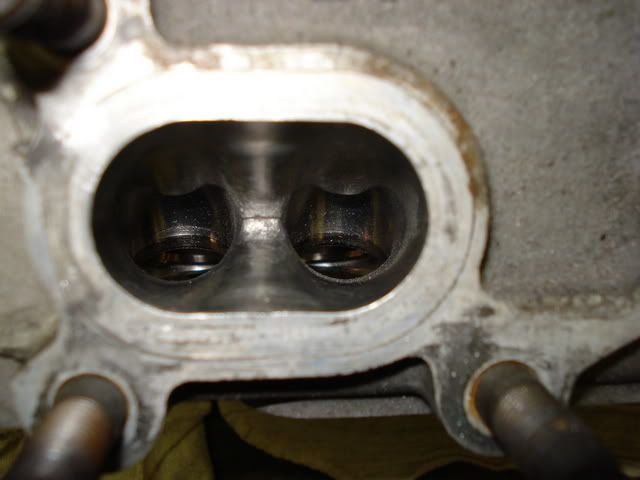
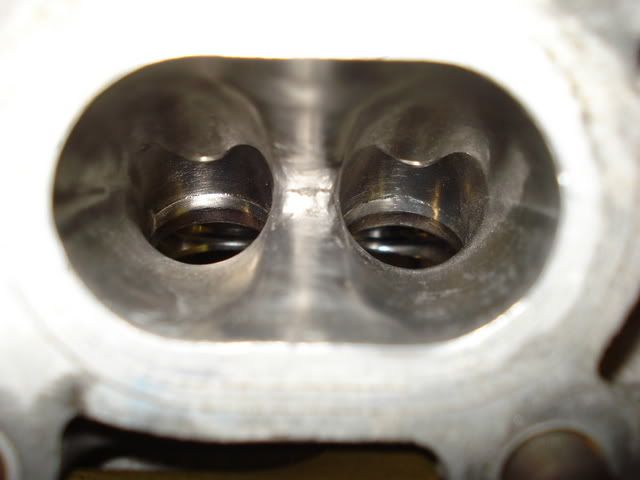
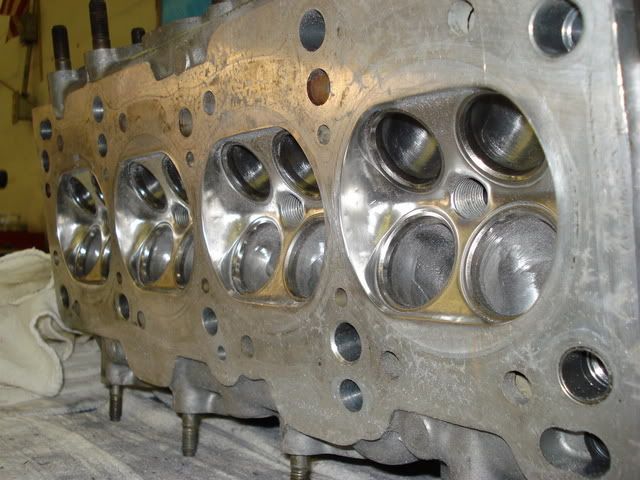
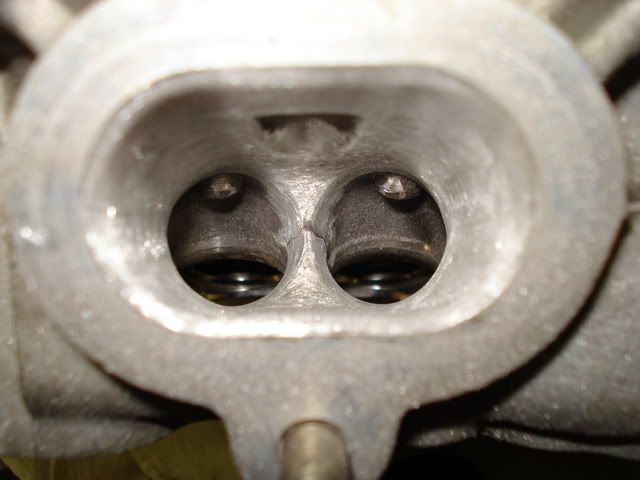
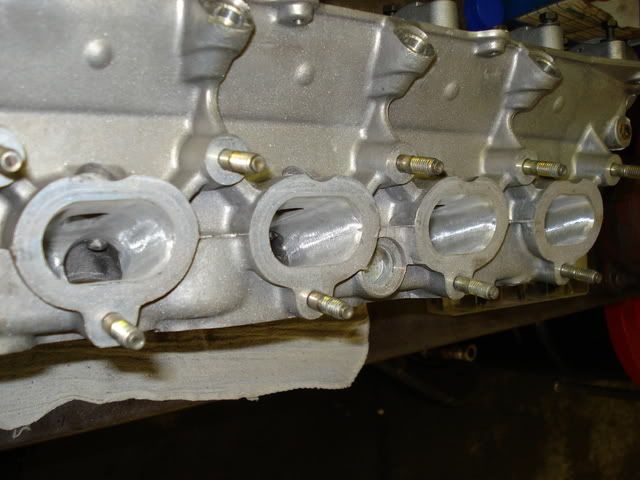
I've taken several pics a few weeks ago and now here they are in my work log. The cyl head work is done. I've spent several hrs porting and polishing the exhaust runners and combustion chamber. I finished the exhaust side first and started the intake with pics. For now, I'm not showing the finished intake ports. It's a secret...The block and cyl. head went to the local machine shop.
Machine work:
bore block
micropolish crank
balance rotating assembly
clean block
set ring end gap
deck block
Cyl. head work:
re-cut valve seats
re-surface head
clean/rebuild lifters
assemble valvetrain (valves, springs, seats, retainers and keepers)
Right now I have:
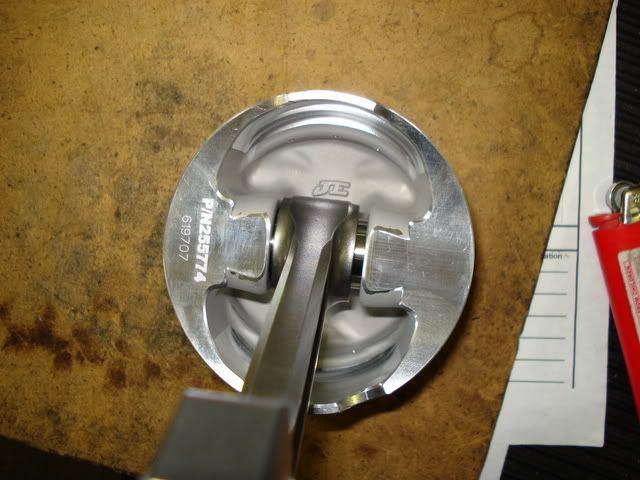
JE pistons 1mm oversize, JE rings
Carillo con rods
clevite standard bearings
ARP head studs
Gates racing (blue) T. belt
Supertech dual valve springs and
titanium retainers
aftermarket valves
Ported and polished cyl. head.
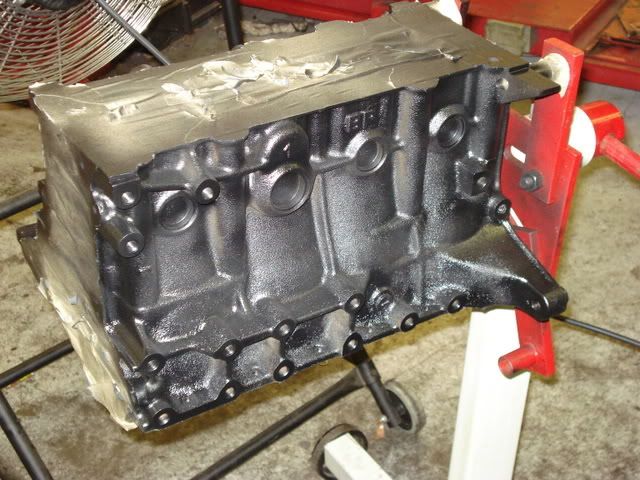
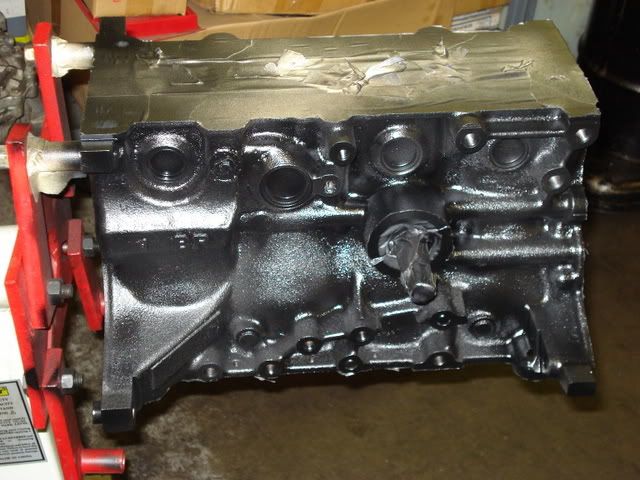
Pictures of the bottom end after having machine work done. A fresh coat of paint was applied after the block was cleaned.
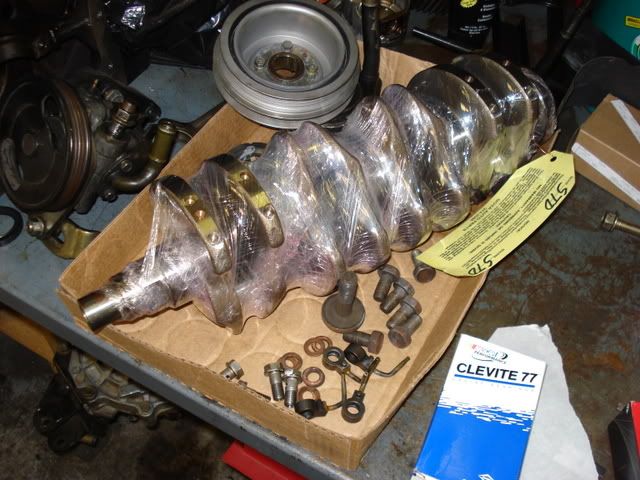
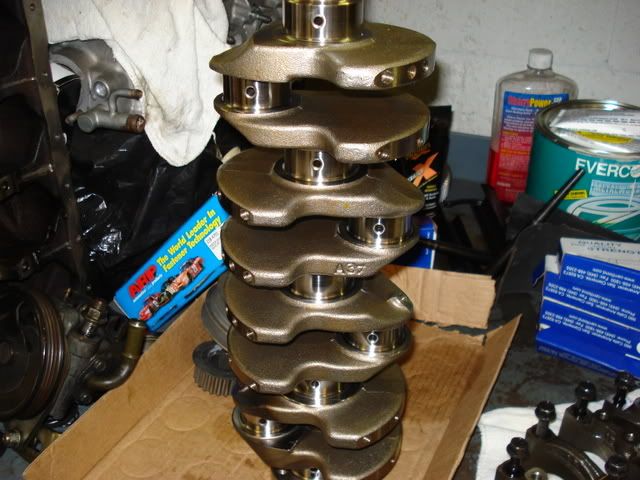
The crankshaft along with the other bottom end parts were fully balanced.
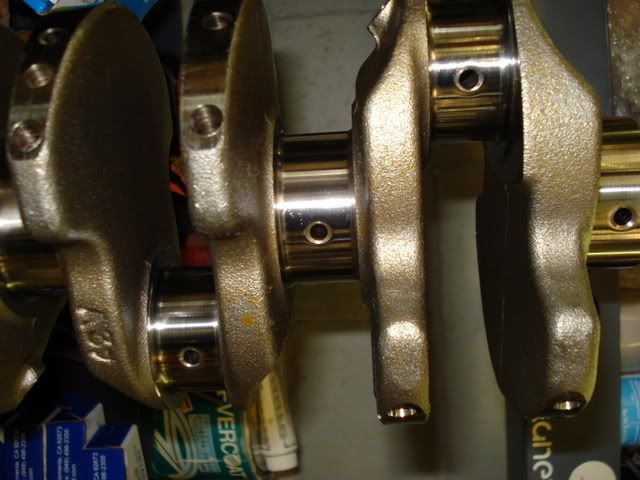
The polished cranshaft.
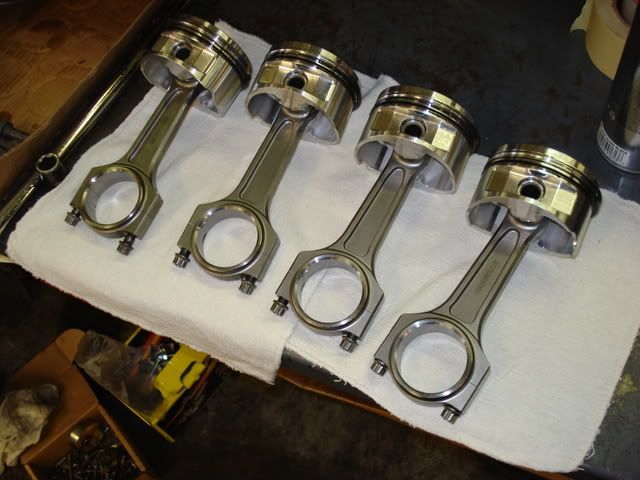
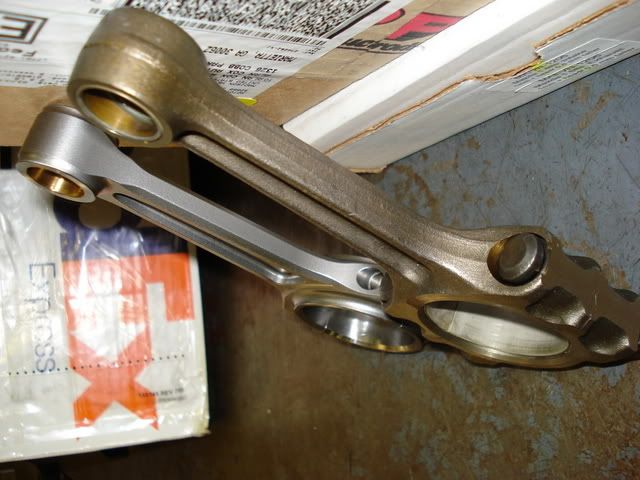
The pistons and rods assembled.
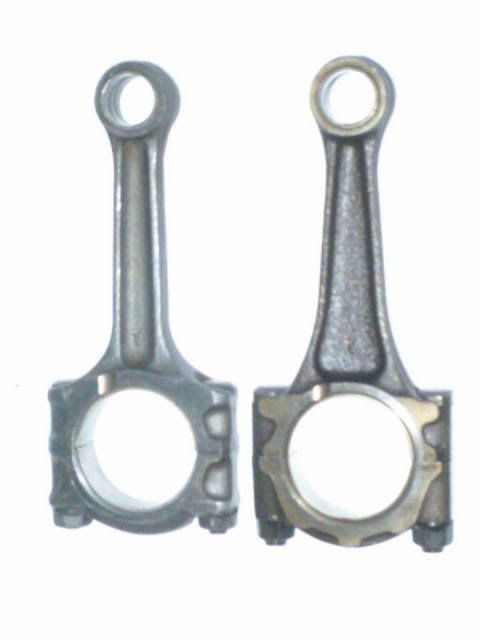
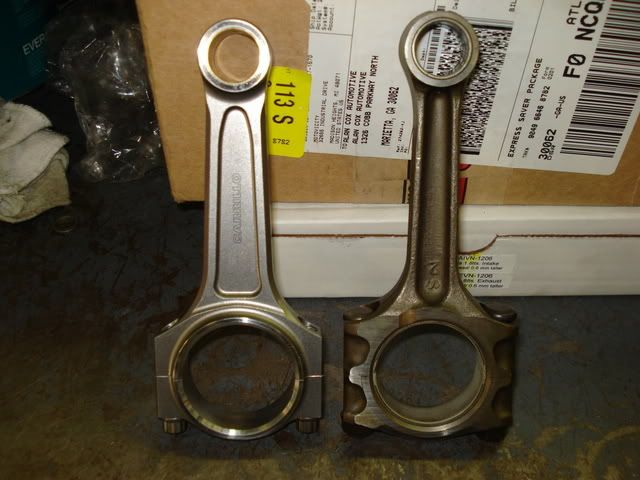
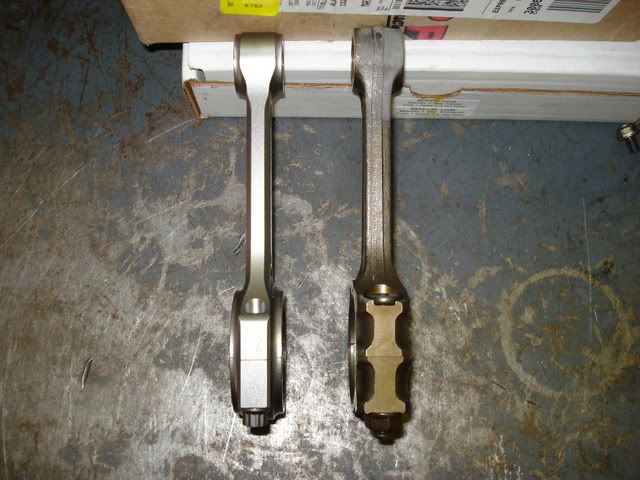
Side by side comparison of a heavier/weaker BP rod and Carrillo rod.
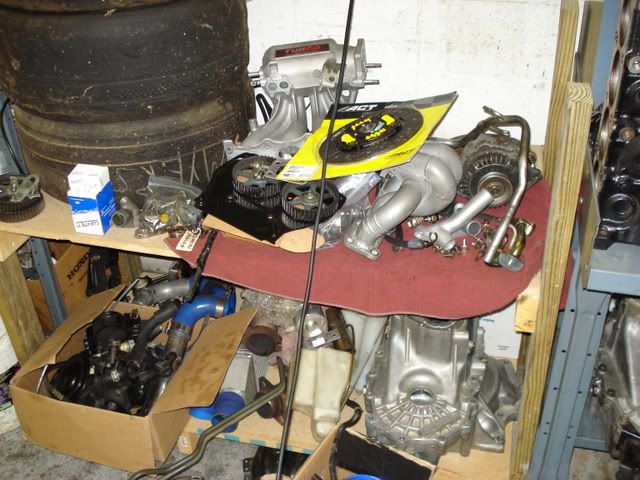
So many parts to get put on the car...
That's all for now. I should have my cyl. head back from the machine shop shortly. Some of the exhaust valve guides needed to be replaced which is the reason for the work to take awhile.
I've taken several pics a few weeks ago and now here they are in my work log. The cyl head work is done. I've spent several hrs porting and polishing the exhaust runners and combustion chamber. I finished the exhaust side first and started the intake with pics. For now, I'm not showing the finished intake ports. It's a secret...The block and cyl. head went to the local machine shop.
Machine work:
bore block
micropolish crank
balance rotating assembly
clean block
set ring end gap
deck block
Cyl. head work:
re-cut valve seats
re-surface head
clean/rebuild lifters
assemble valvetrain (valves, springs, seats, retainers and keepers)
Right now I have:
JE pistons 1mm oversize, JE rings
Carillo con rods
clevite standard bearings
ARP head studs
Gates racing (blue) T. belt
Supertech dual valve springs and
titanium retainers
aftermarket valves
Ported and polished cyl. head.
Pictures of the bottom end after having machine work done. A fresh coat of paint was applied after the block was cleaned.
The crankshaft along with the other bottom end parts were fully balanced.
The polished cranshaft.
The pistons and rods assembled.
Side by side comparison of a heavier/weaker BP rod and Carrillo rod.
So many parts to get put on the car...
That's all for now. I should have my cyl. head back from the machine shop shortly. Some of the exhaust valve guides needed to be replaced which is the reason for the work to take awhile.