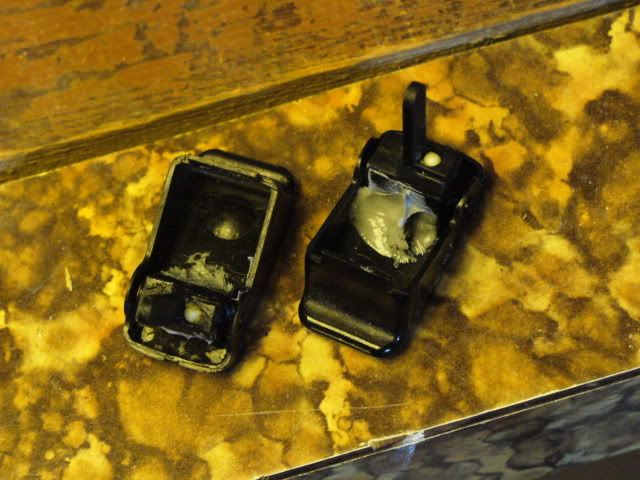
Here we go folks. After staring at a lot switches, it hit me. The switches break, as nicely depicted in this thread: http://www.mx-3.com/phpBB3/viewtopic.ph ... itch+92+95" onclick="window.open(this.href);return false;
Halfway down you'll see that the actual toggle has a little socket in it that receives the little arm that moves the slider in the switch.
It is always the socket that breaks, not the arm. This got me thinking.
The pivot points for the switch only touch the socket. This is because the toggle itself was never meant to be replaced, but the arm was. Now, I don't know why this is. I can only assume Mazda engineers figured the arm would break before the toggle/socket, so the arm might need to be replaced, and never the socket. This is clearly not the case.
So I came up with a solution. Pivot through the arm, not just the socket, as the arm has much more material to hold to, wheras the thin sidewalls of the socket don't provide much strength.
Mazda was about 90% of the way there with their design already, and I don't know why they didn't do what I'm about to show you. Its so perfectly set up. If it were designed correctly from factory, each toggle would be replaceable too.
Parts list:
Broken switch
Super glue
1/16" drill bit (at least 1 3/4 inch long)
Drill (preferably with built in horizontal level)
side cutters/dremel/ small grinder
phillips screwdriver (precision and normal size)
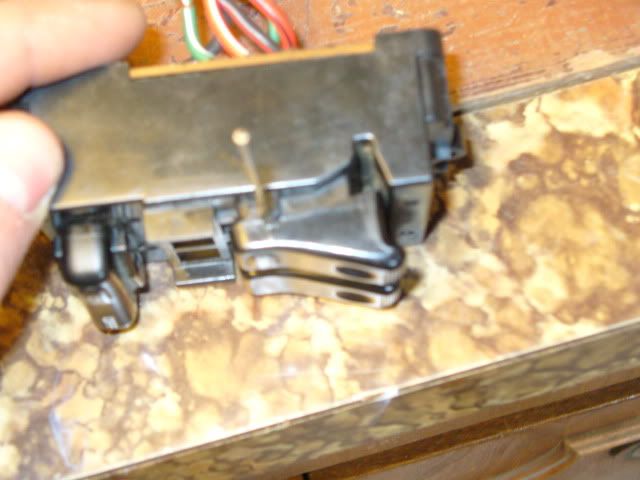
Step 1
Repair your toggle/socket/arm as best you can using superglue (I used a bit of high grade silicon because my socket was beyond repair) Focus on holding the bottom of the arm to the toggle. Remove the spring and white piston. These two things are what re-centre the toggle when you press it.
Step 2
Reinstall the toggles best you can. You may need to do some slight trimming to the top of the arm where it meets the socket, as it was never meant to go in from the top. Carefully you can probably just shave it away with a sharp utility knife. I found it most effective to shave the lip where the arm sticks over the edge of the socket, and then on the switch housing to bevel the little pivot nub so it would slide down easier.
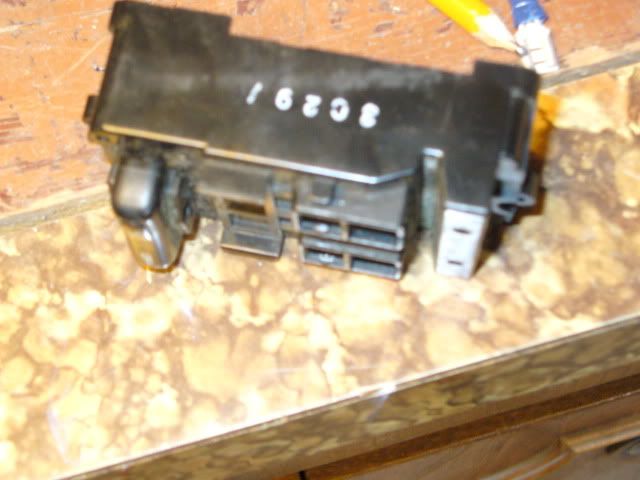
Now examine your switch. See how there are little plastic towers that cover where the pivot point is? These are what got me thinking.
Now toggle the switch a little, and examine exactly where it pivots. The idea is to drill exactly down this line, through both switches.
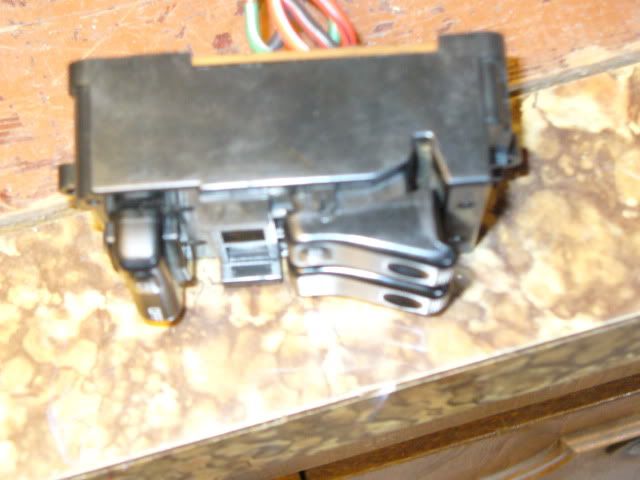
Step 3
First, I got a good mental picture of where the pivot point translates onto the little outer plastic tower. I then drilled it out best I could using a 1/16" drill bit.
Step 4
Once you're sure you have it good, drill exactly through the centre of the pivot. Once you come through the tower on the other side of the toggle you're working on, stop, and try to toggle your switch. If its too hard to toggle it, you messed it up, and I guess can try boring out a little. If its good, you can likely continue through the other toggle from the direction you're coming. If you screwed it up, you should probably try the other toggle from the other side, starting fresh.
Step 5
I mine worked out good, so this is what mine turned out as
Step 6
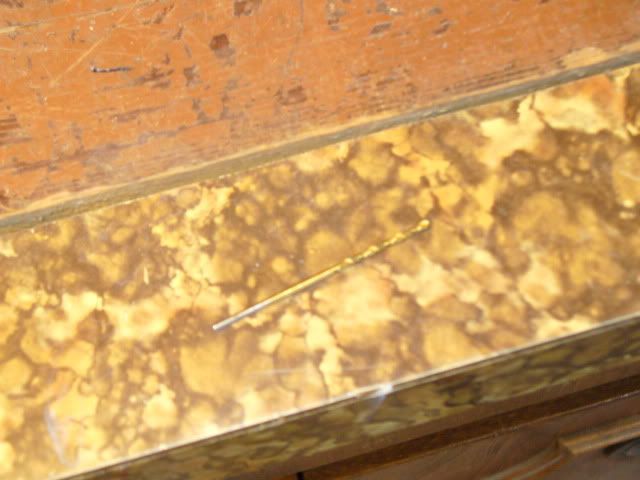
If you can find some rigid 1/16" material to replace the drill bit with, do it, and trim it to be flush with the outer pillars. If not, sacrifice the $2 drill bit. If you don't trim it you can still reinstall it to the big switch bezel, but it will interfere when you go to put it back into your door.
Optional Step 7
Now, since you just put a drill bit through where the spring and piston are supposed to sit, you likely can't reinstall this feature. Luckily, the auto-centre function is backed up by the switch itself, so I didn't worry about it. If you're serious, though, you can try trimming the spring and the piston so that they work again.
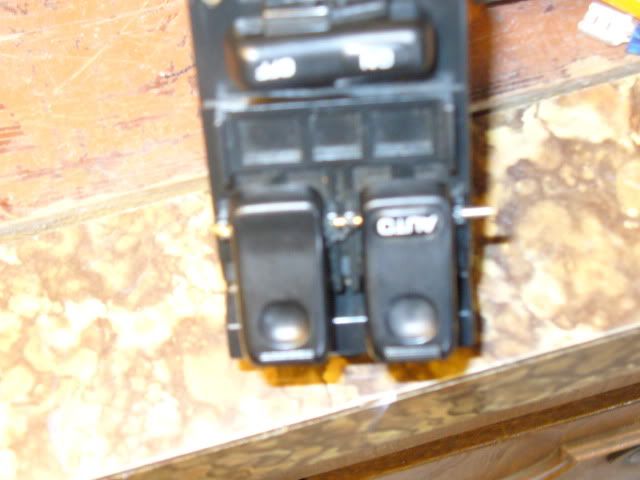
Step 8
Centre everything, and carefully put the bezel back on the board. Put in two opposing corner screws, and go try it out in your car.
If all is well, reinstall it to the big bezel, and reinstall like normal. Tada!
Comments:
This works on the premise that making the pivot point solid through will change the stress points from the socket which breaks, to the arm that doesn't. The forces within the toggle will now be more acute, but I think that the more material we're using will handle it just fine.

